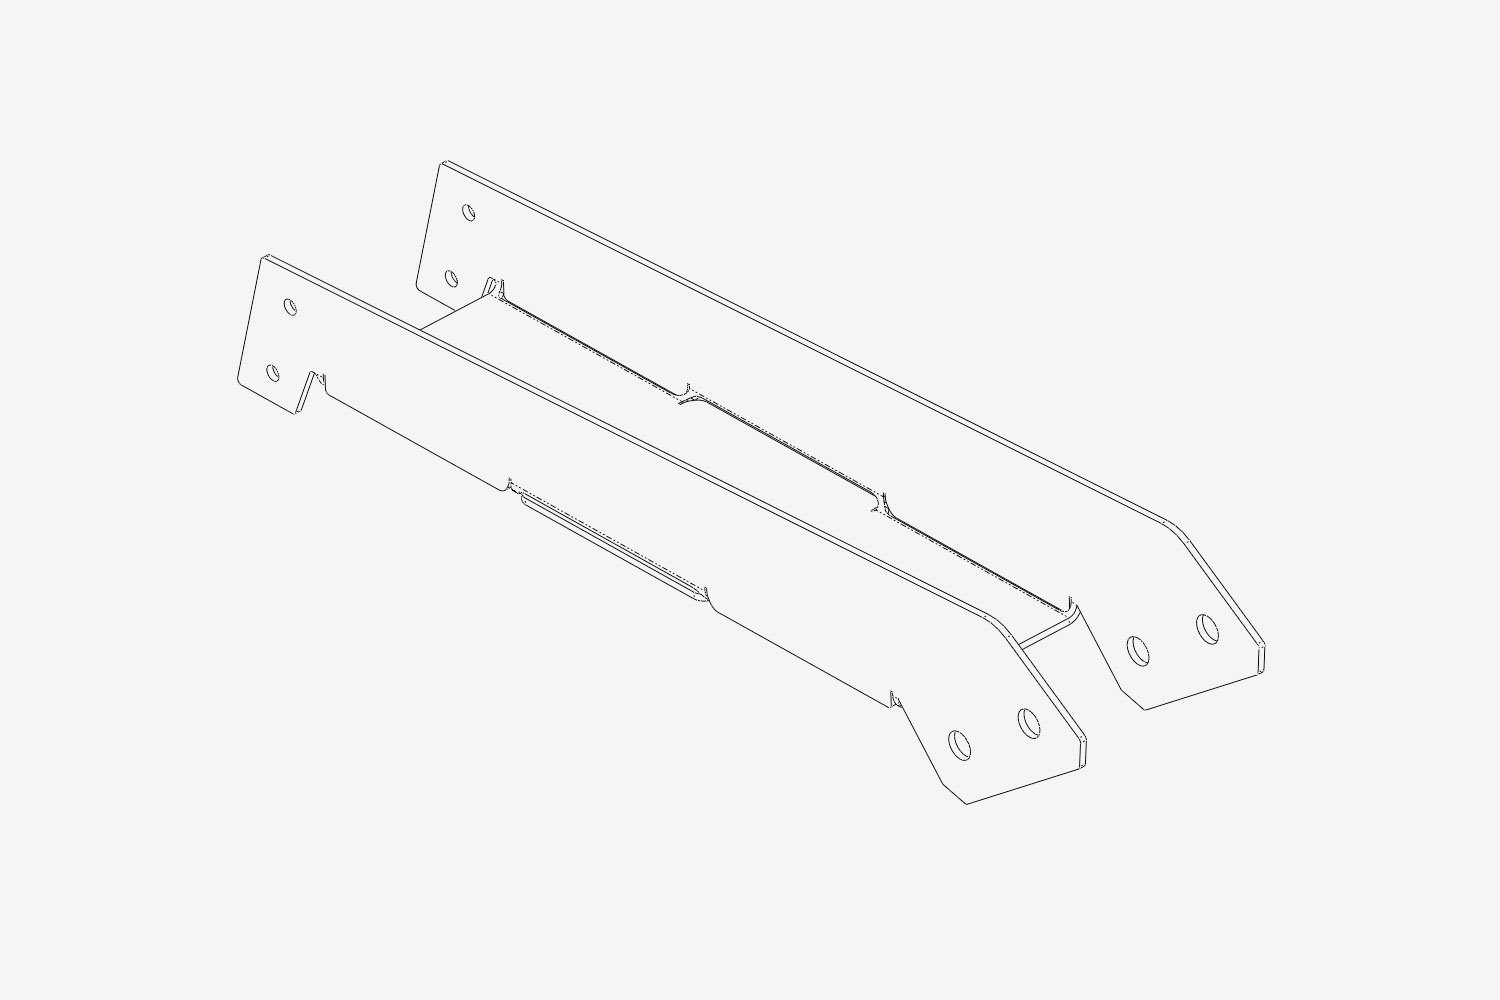
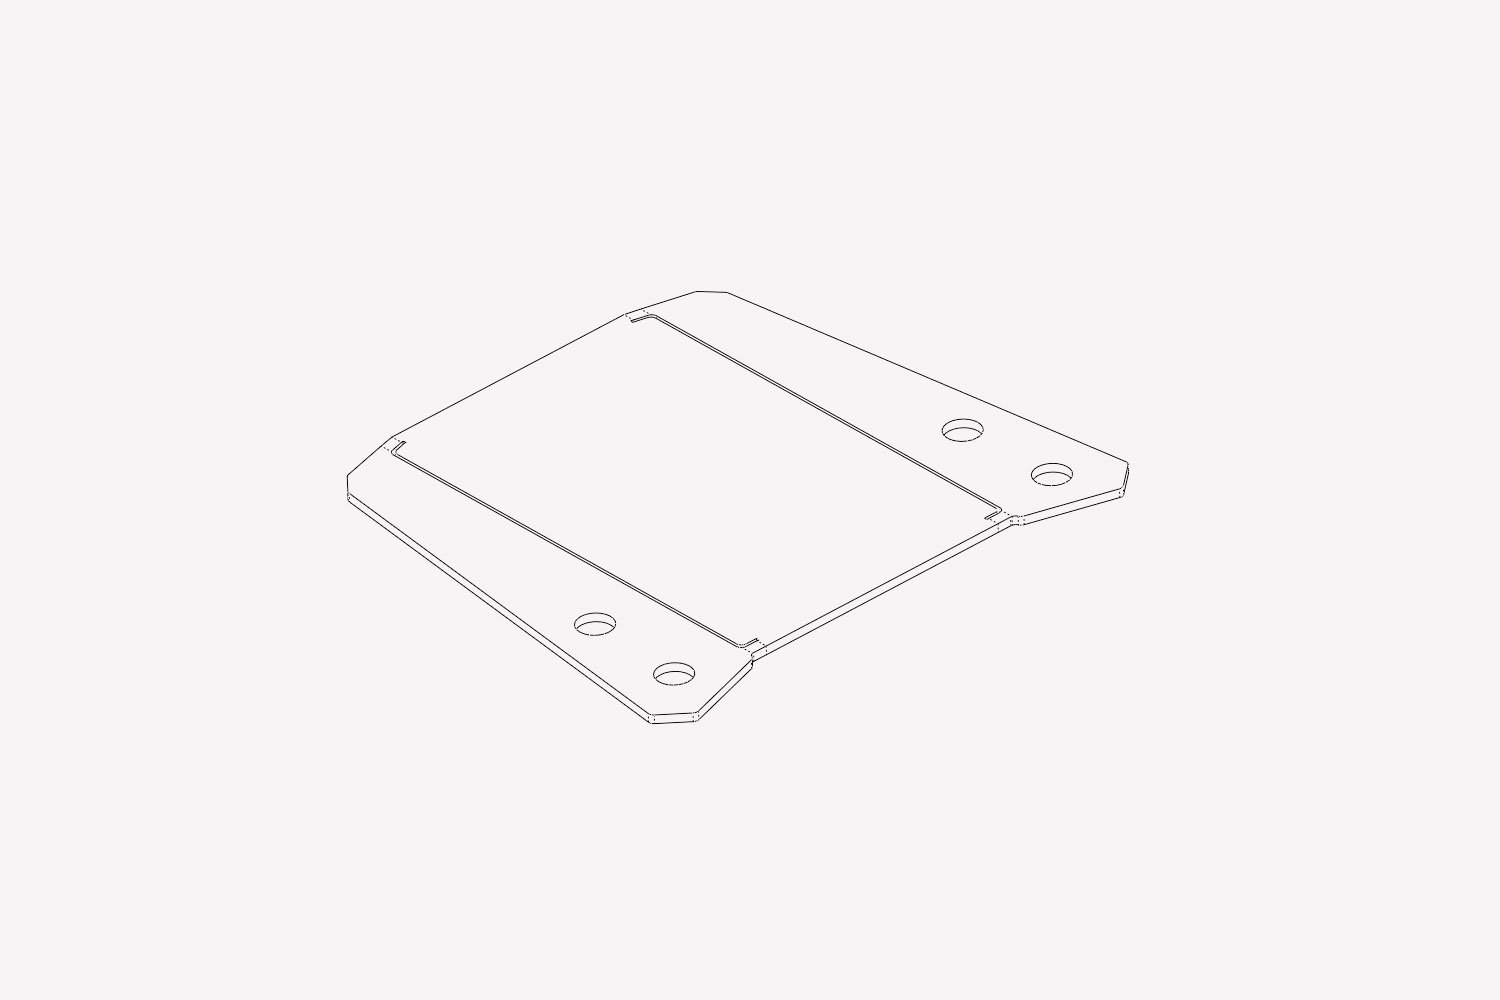
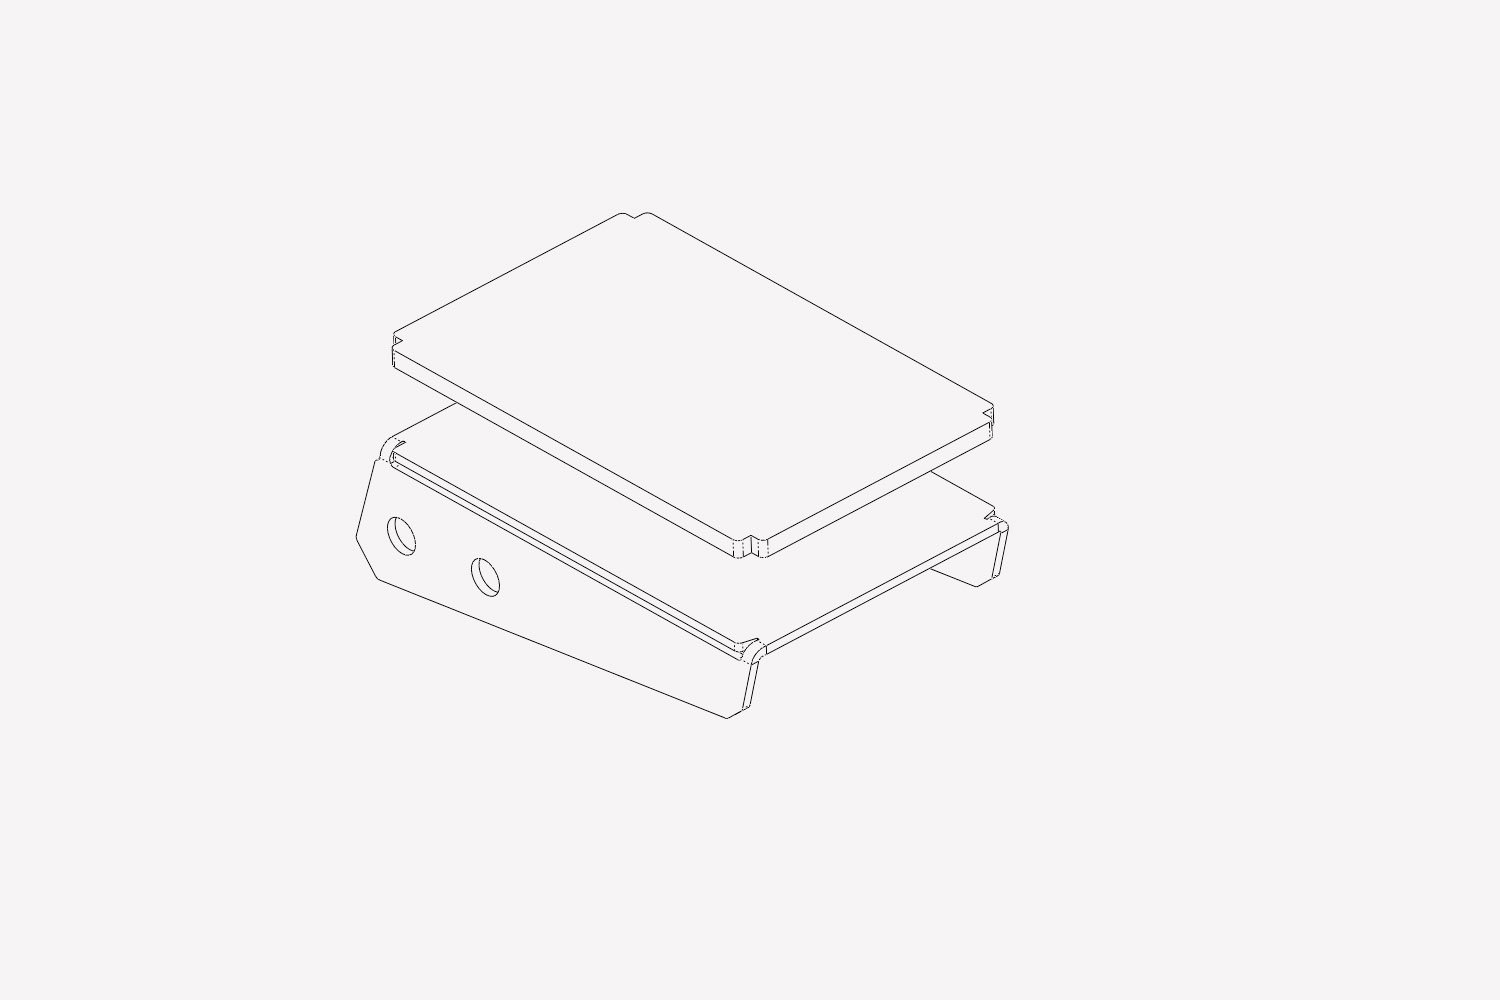
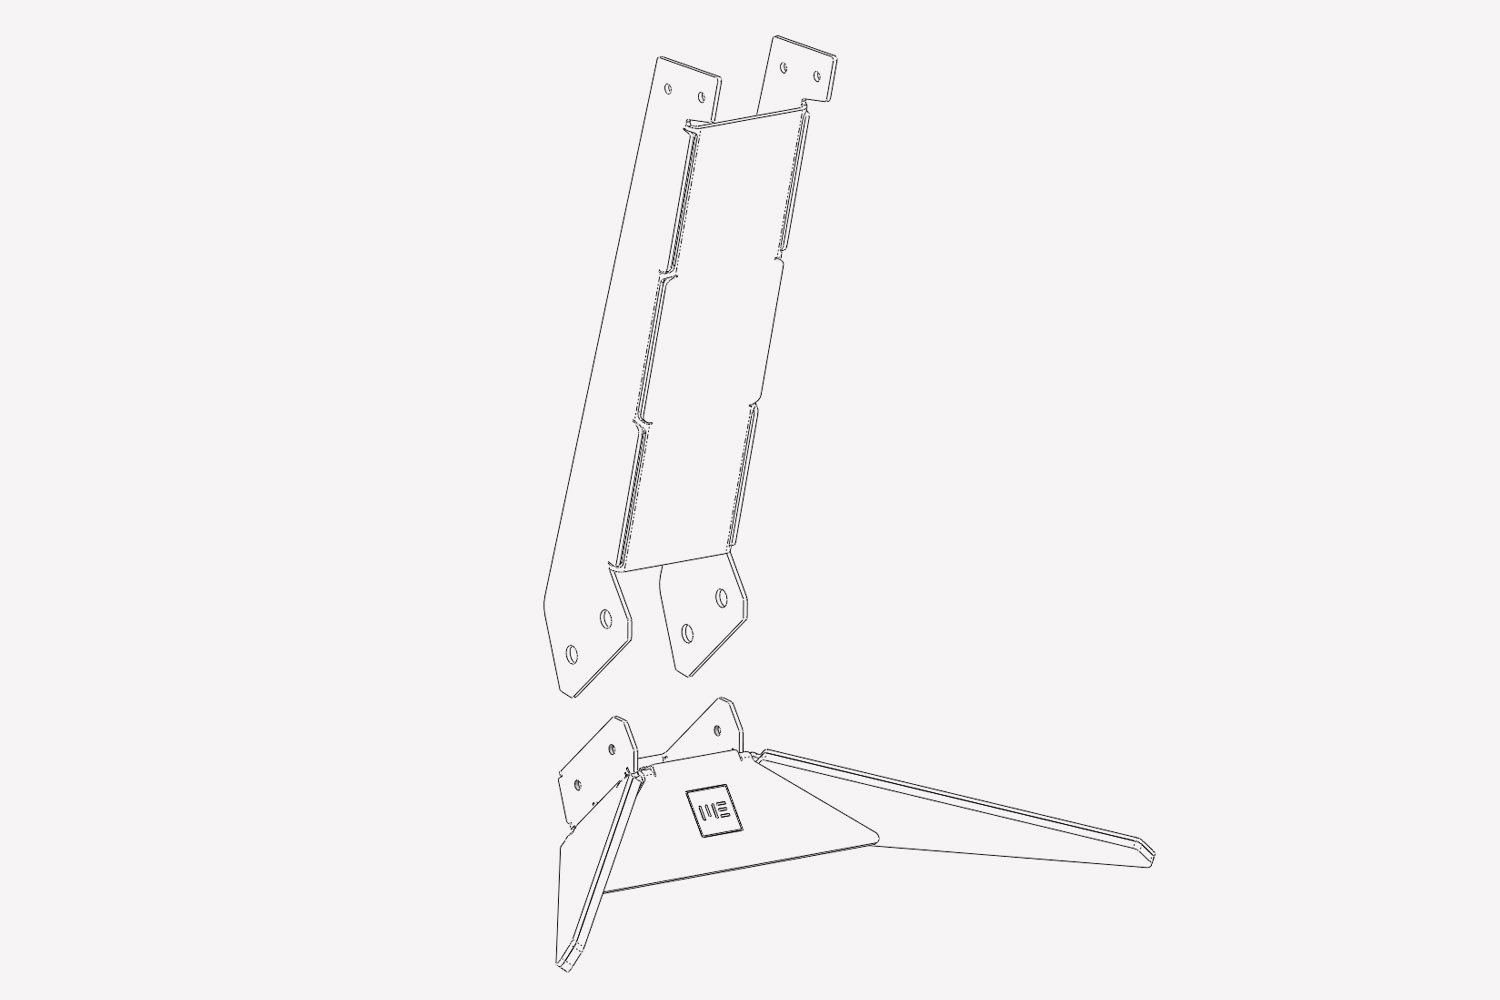
What’s on the menu?

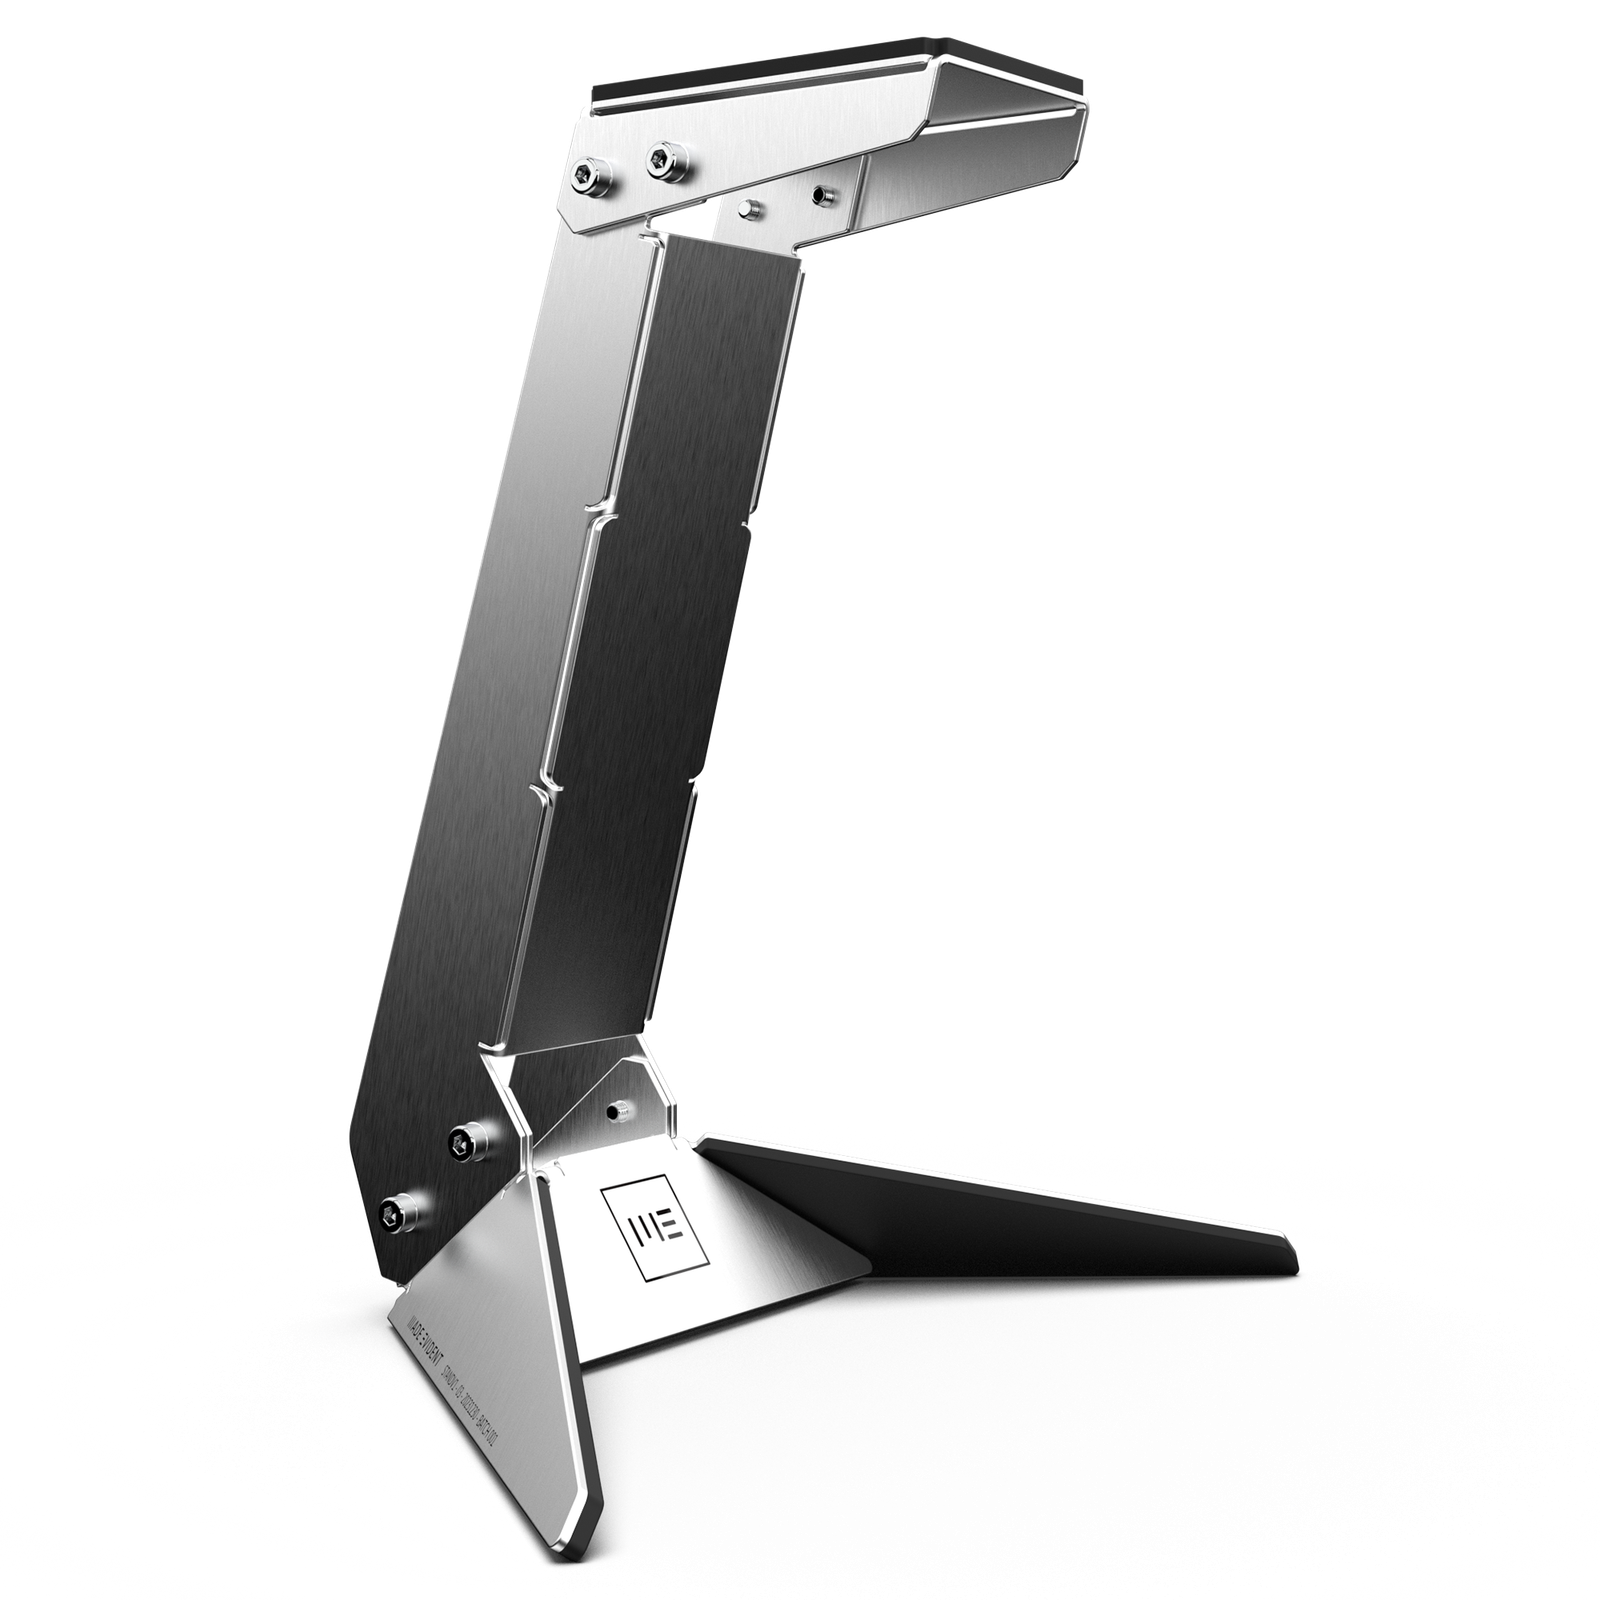
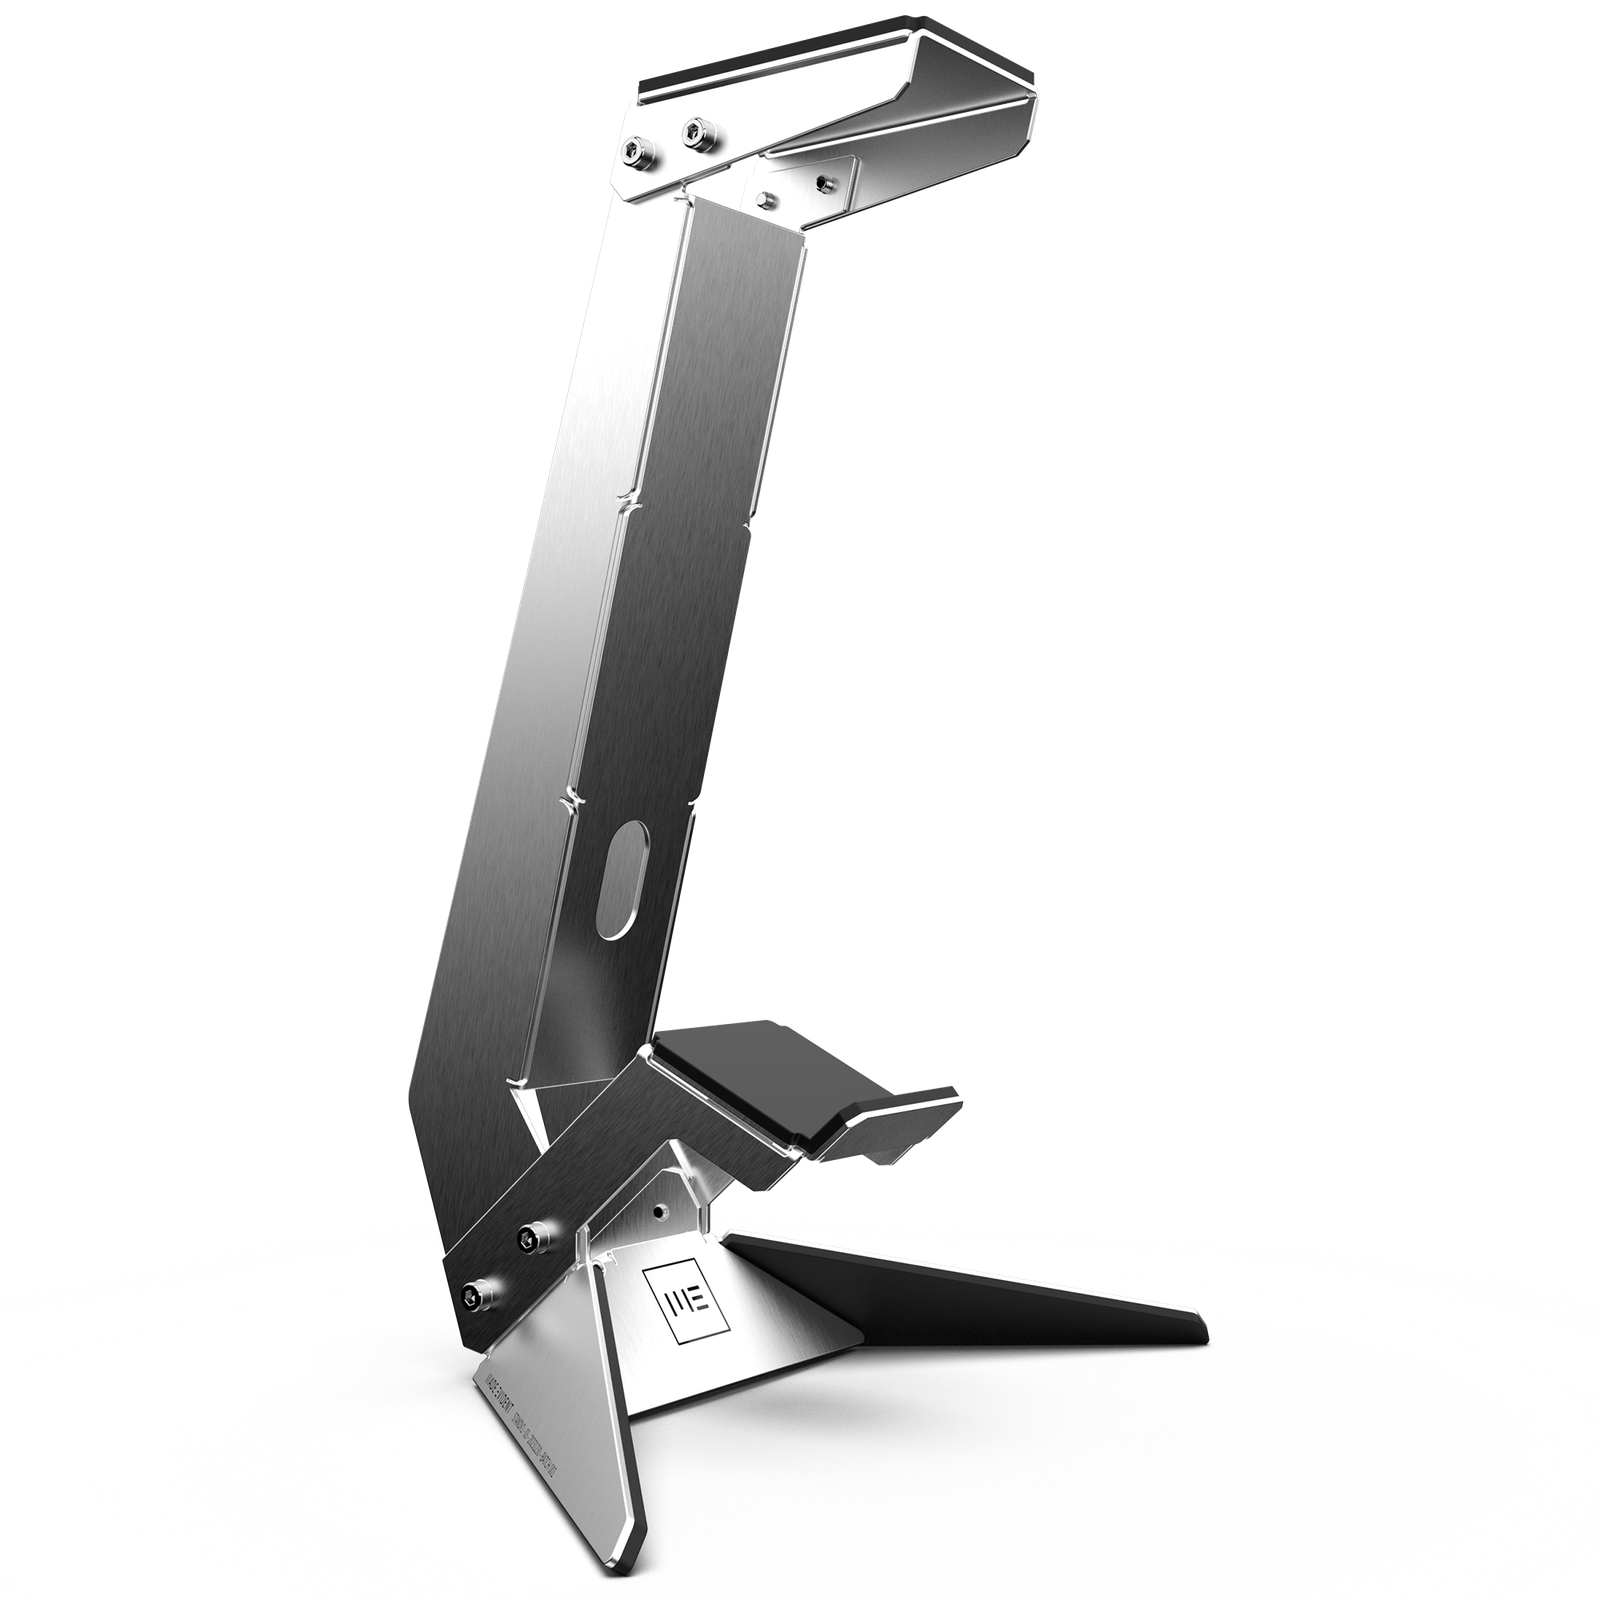
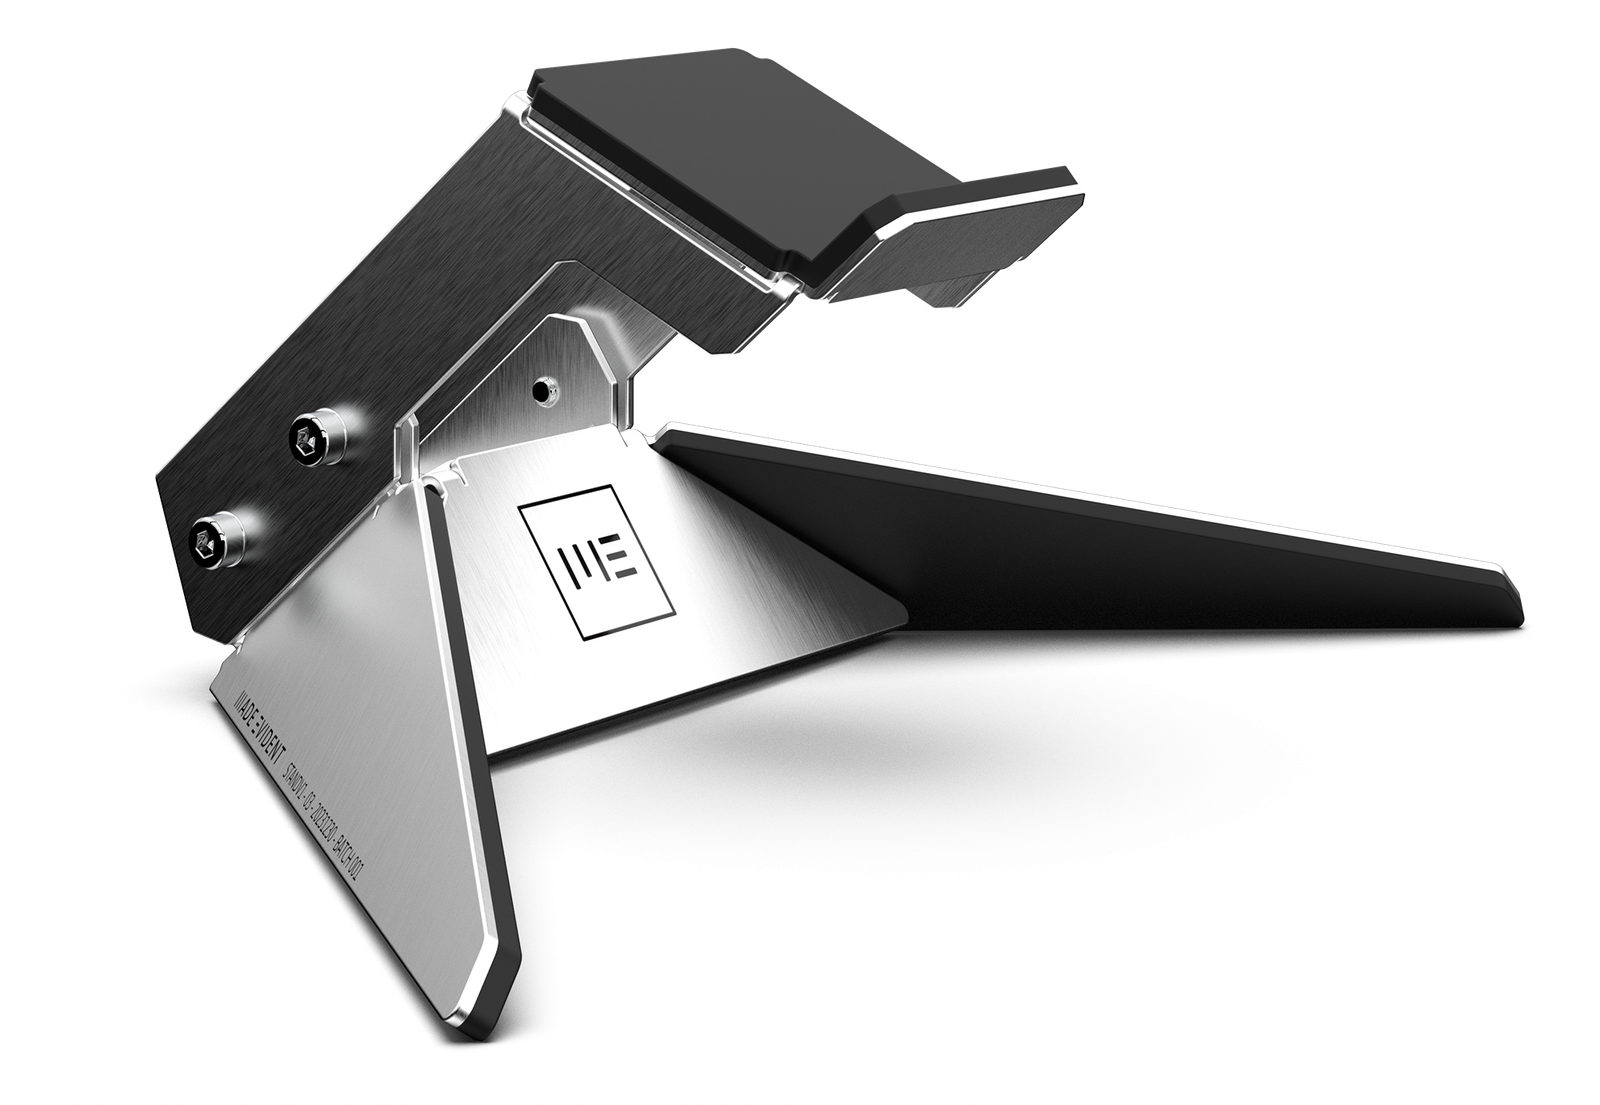
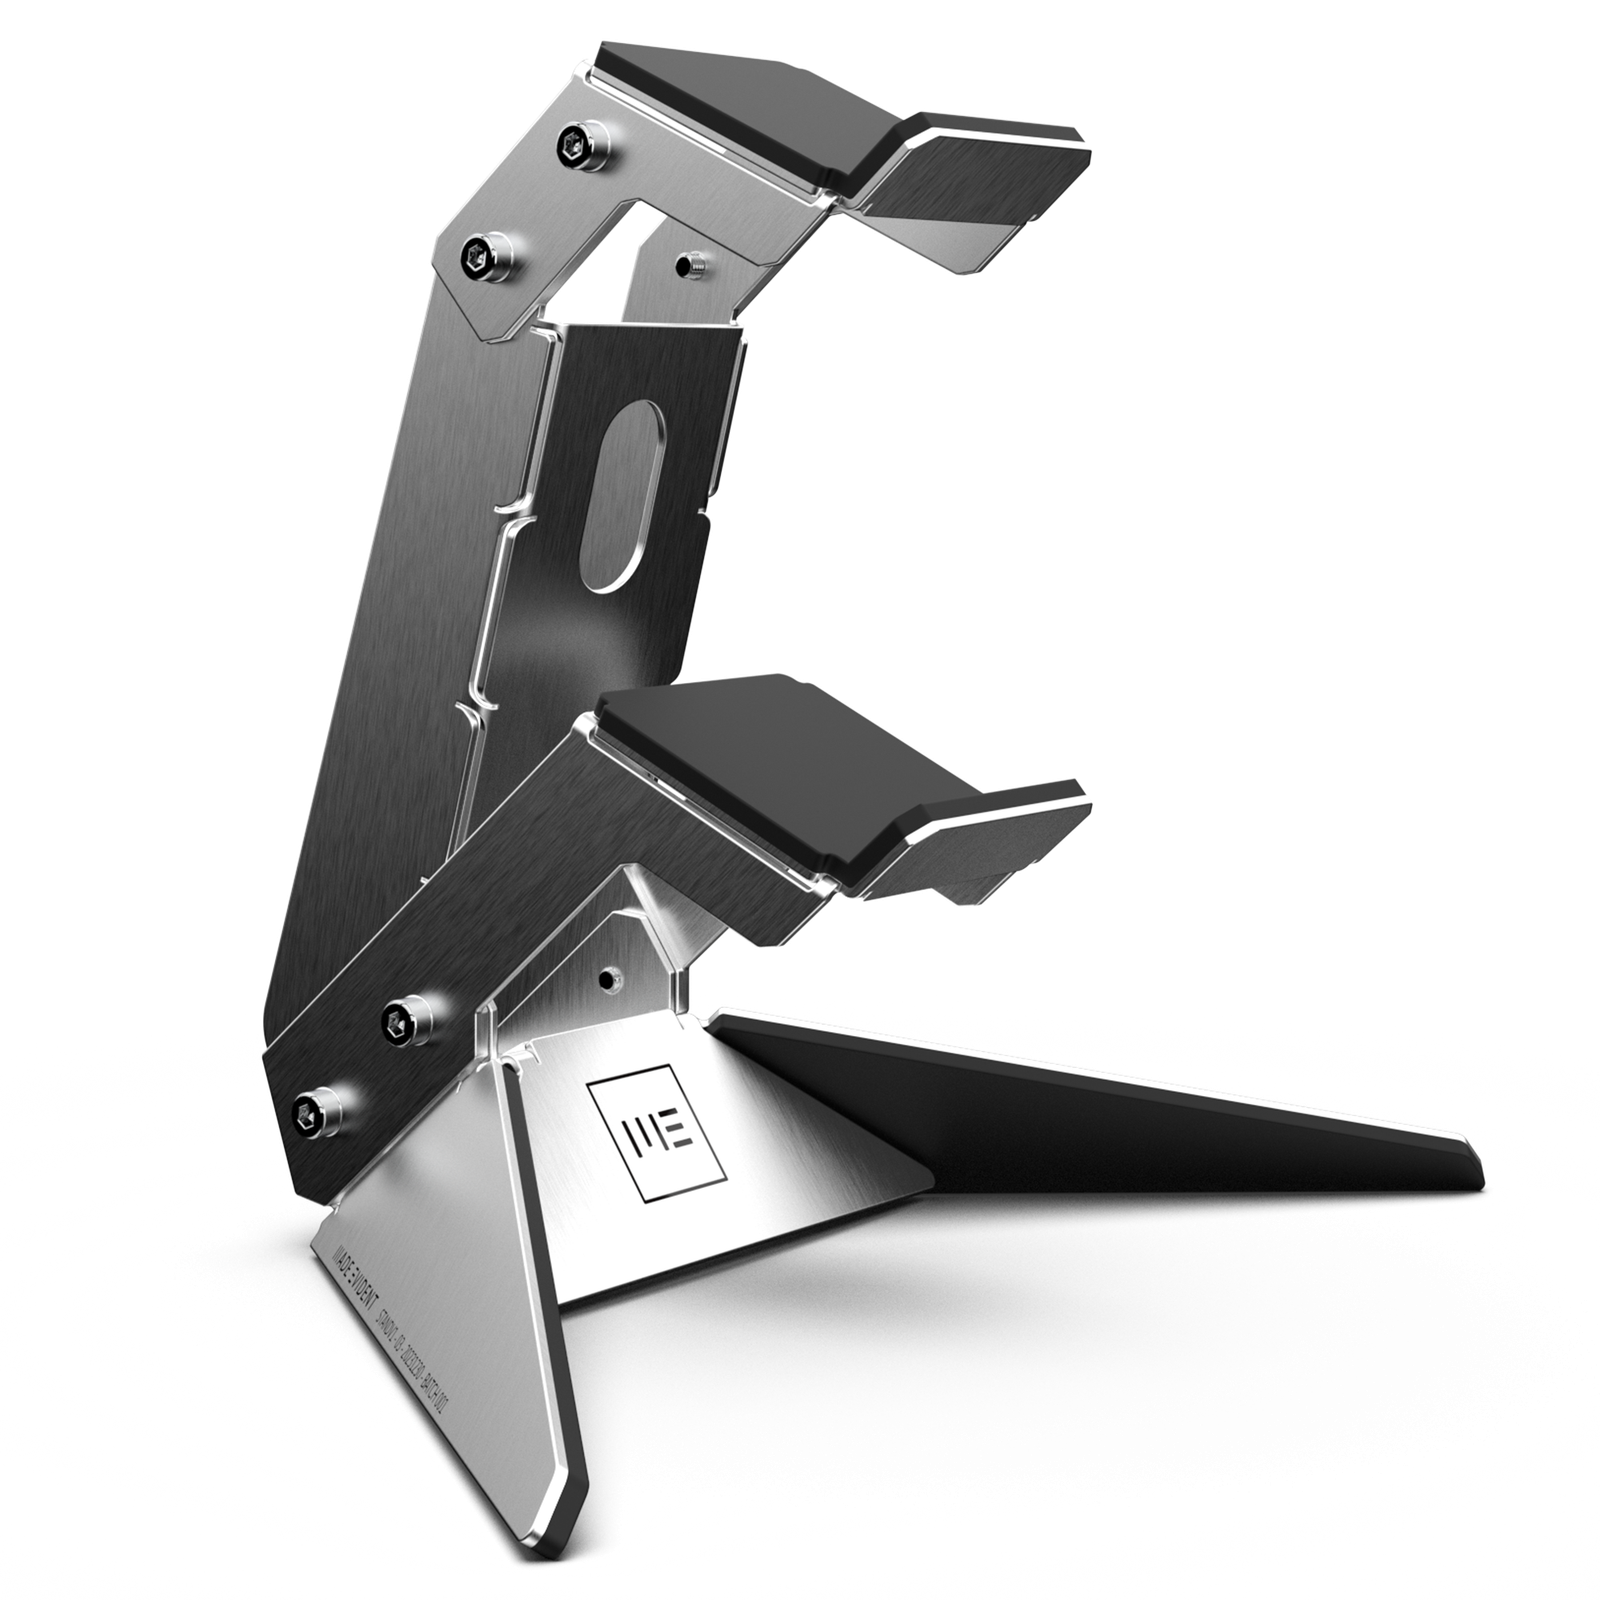
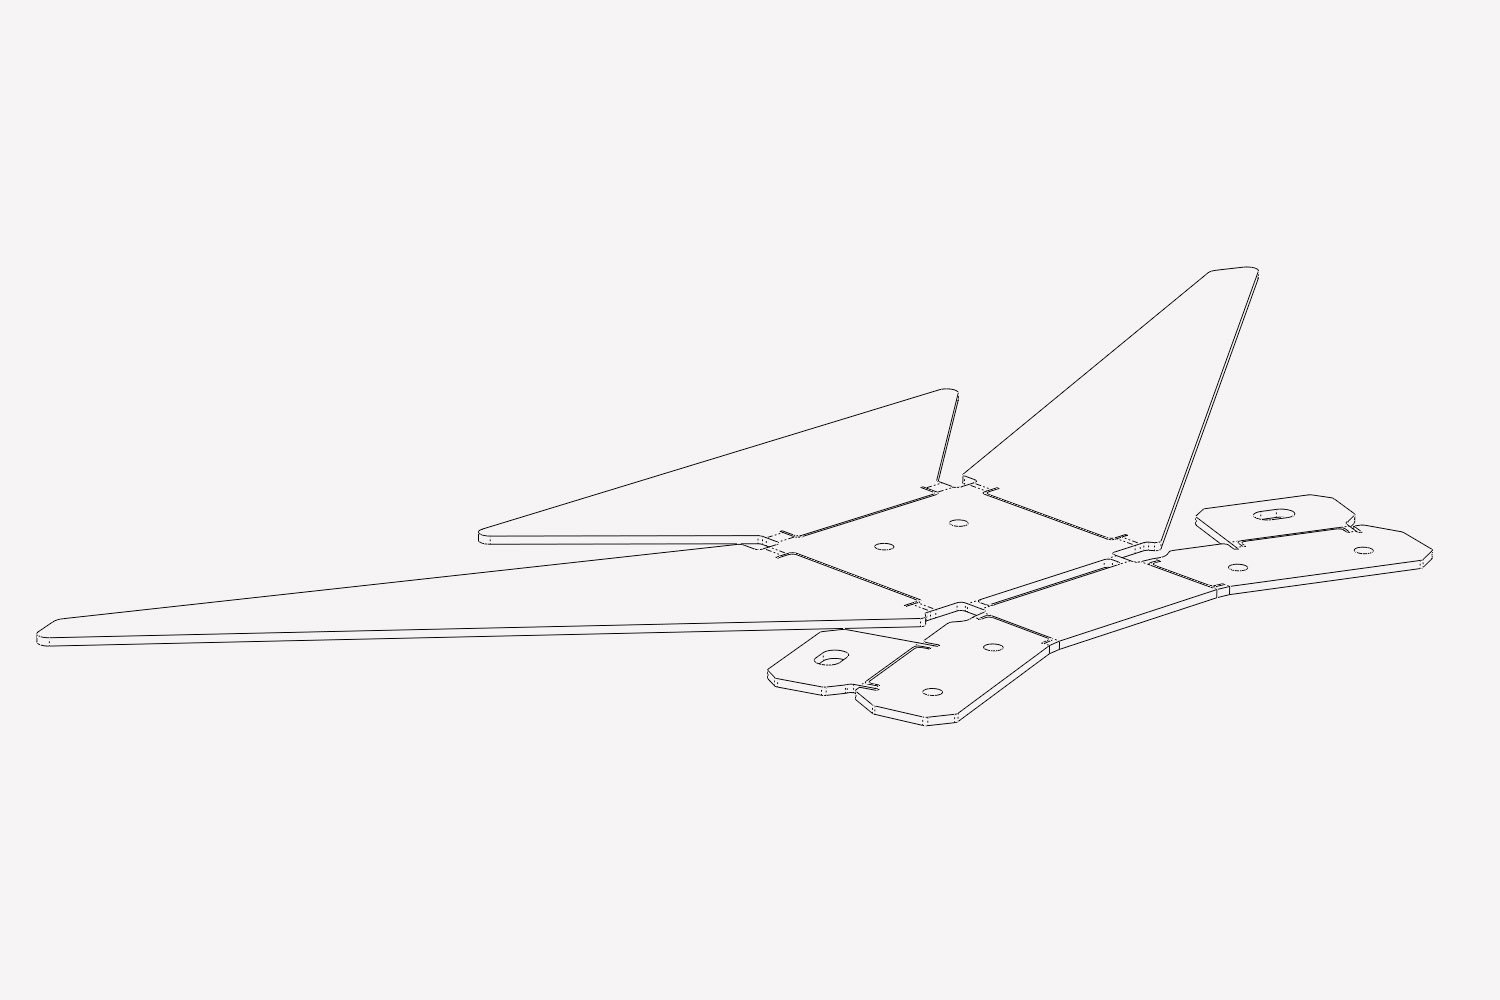
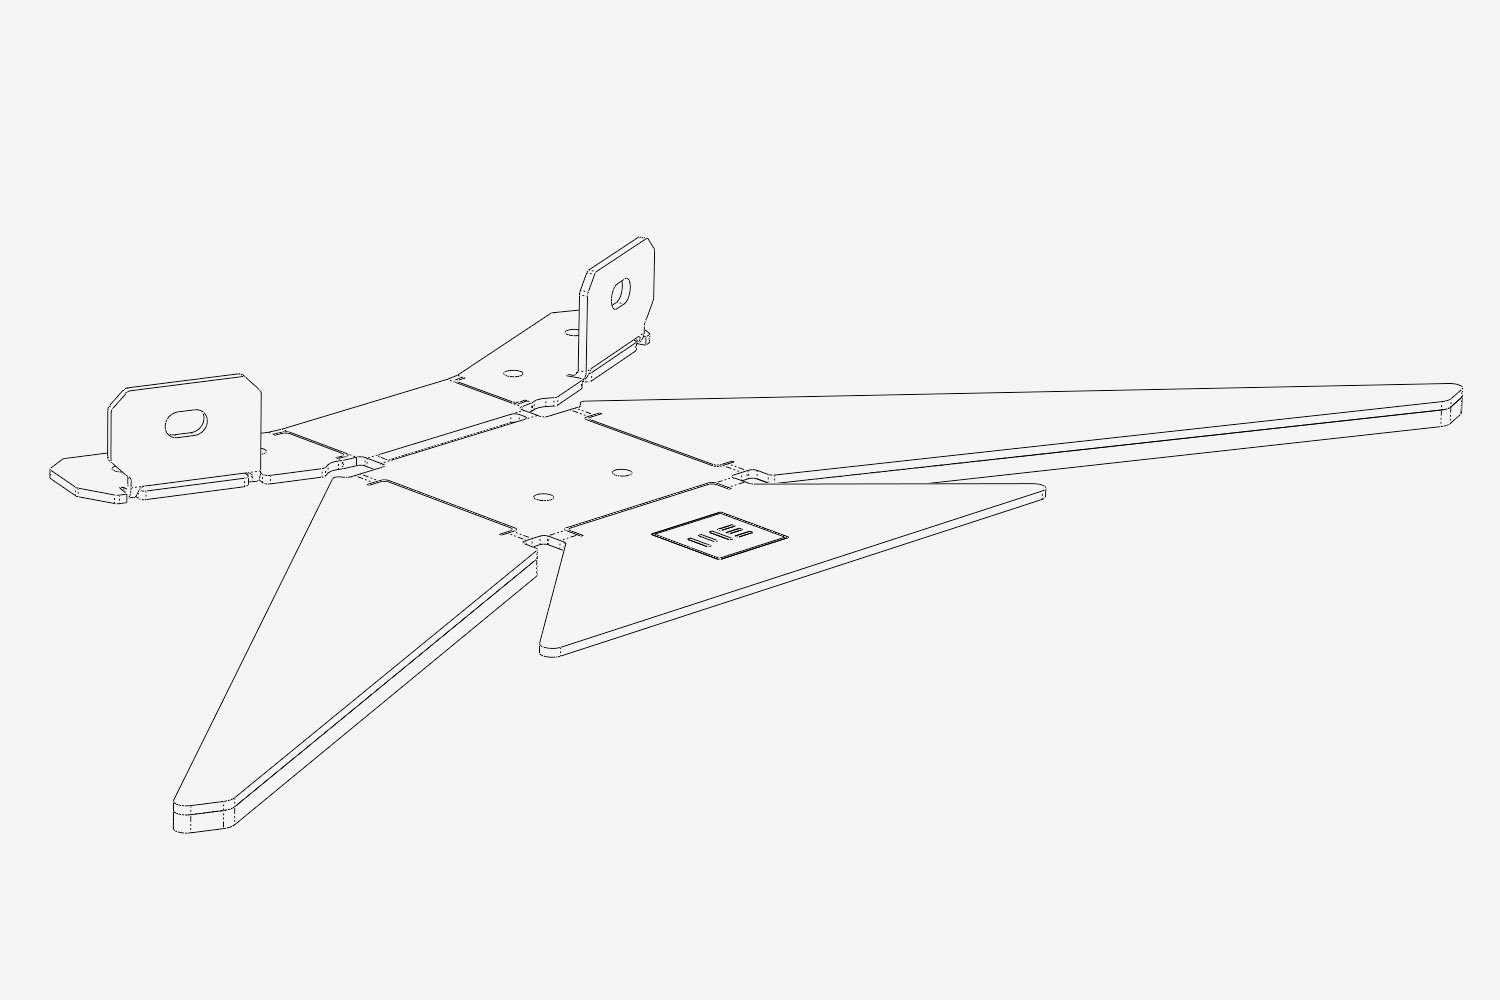
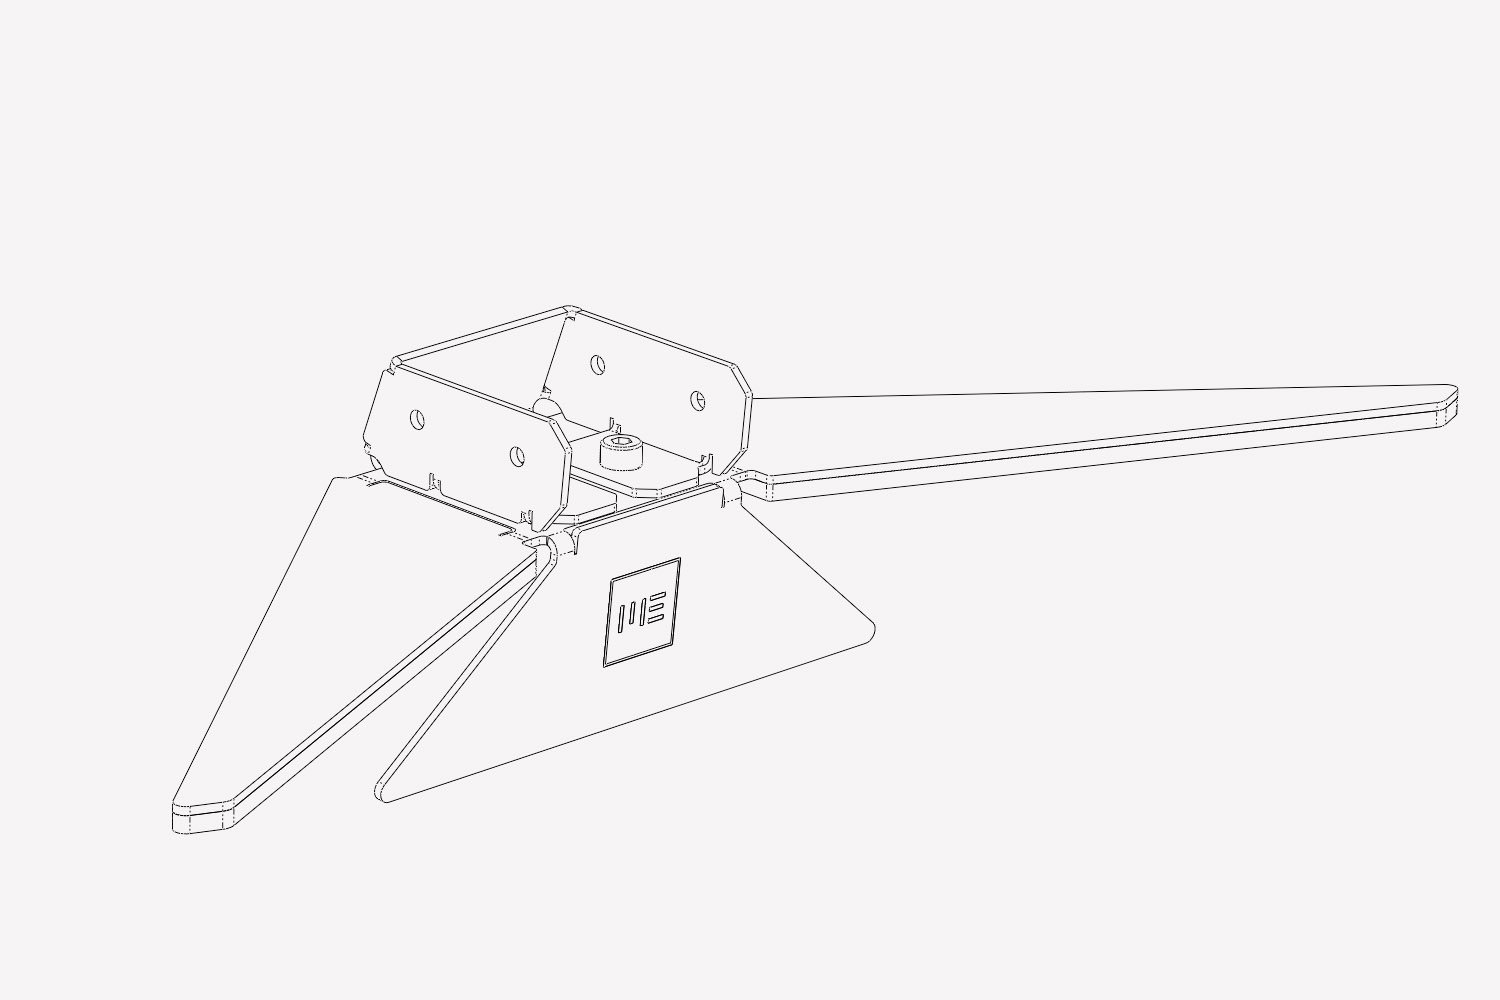
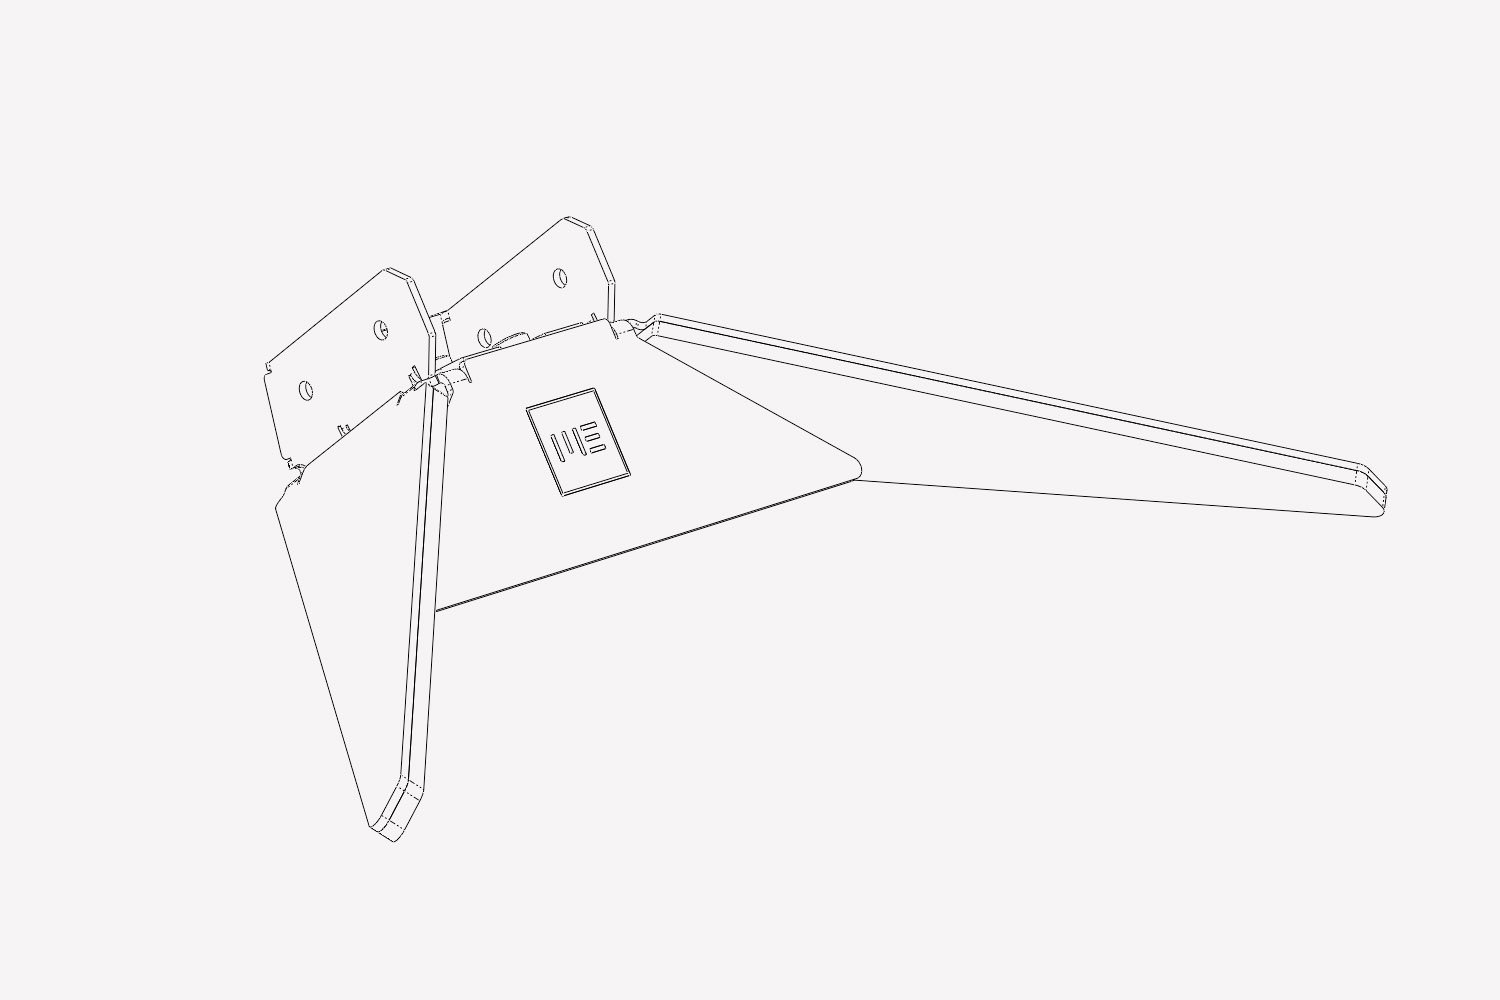
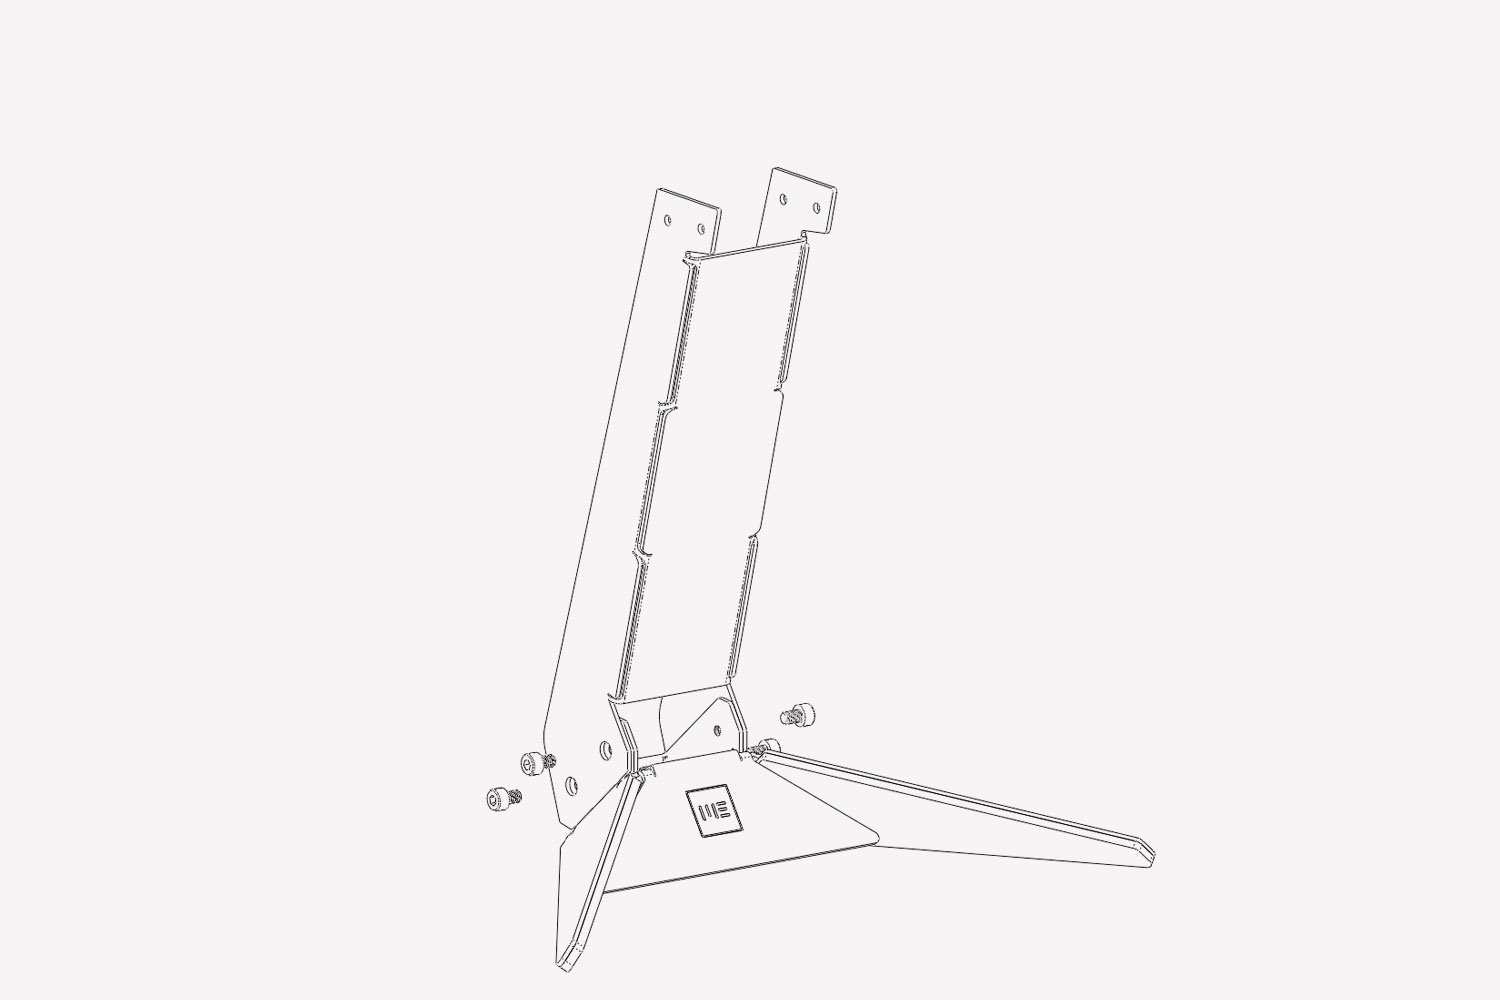
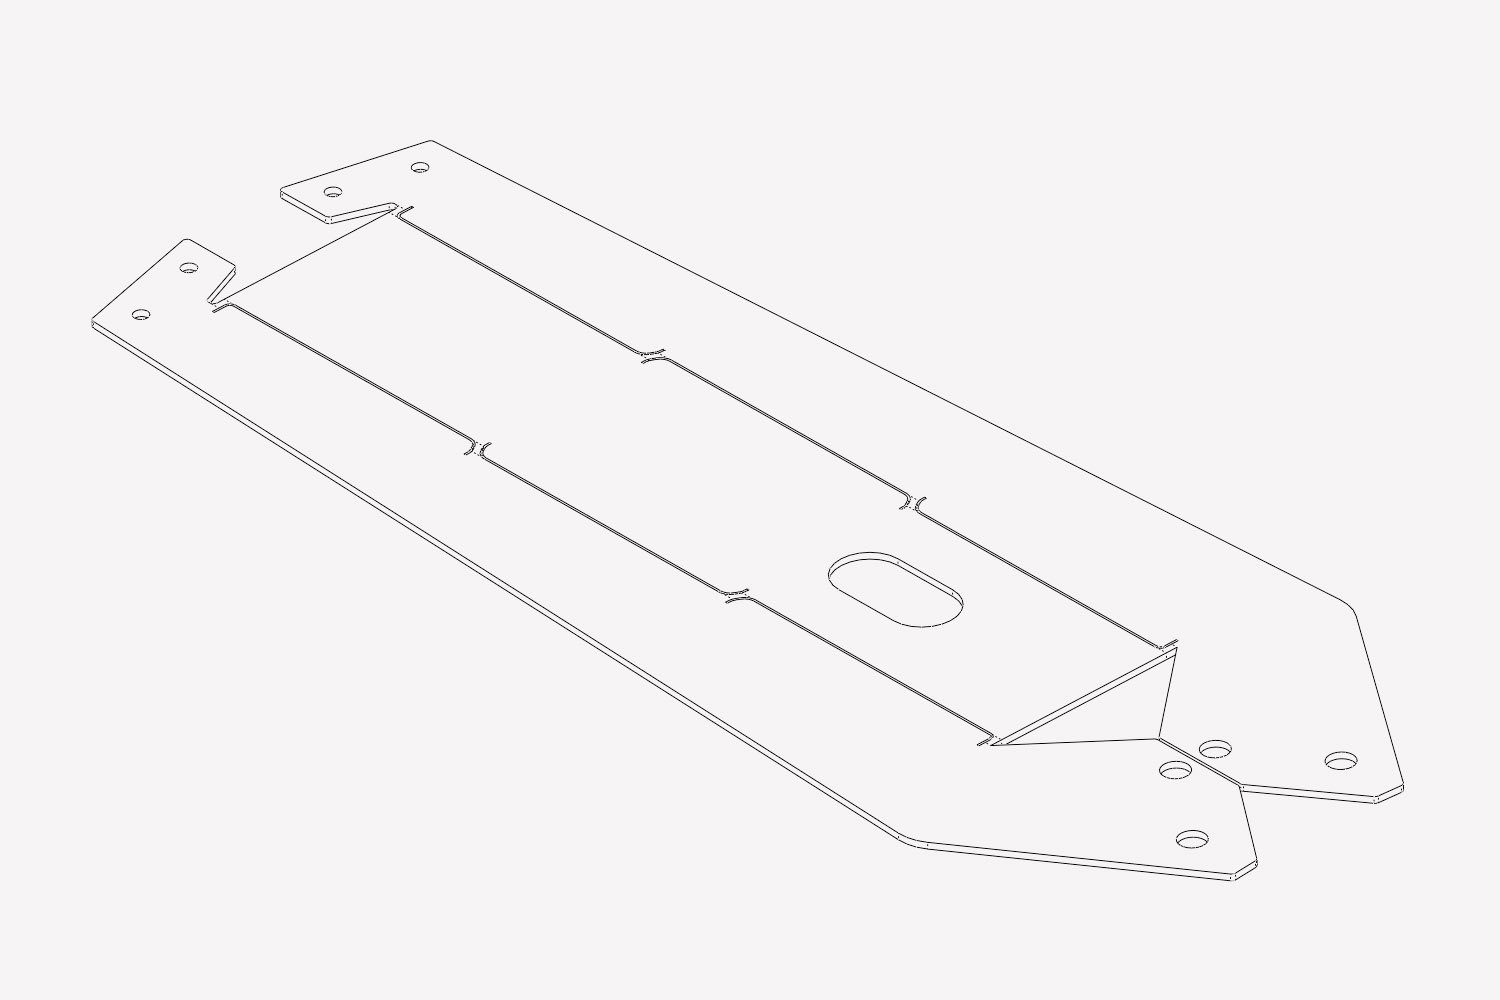
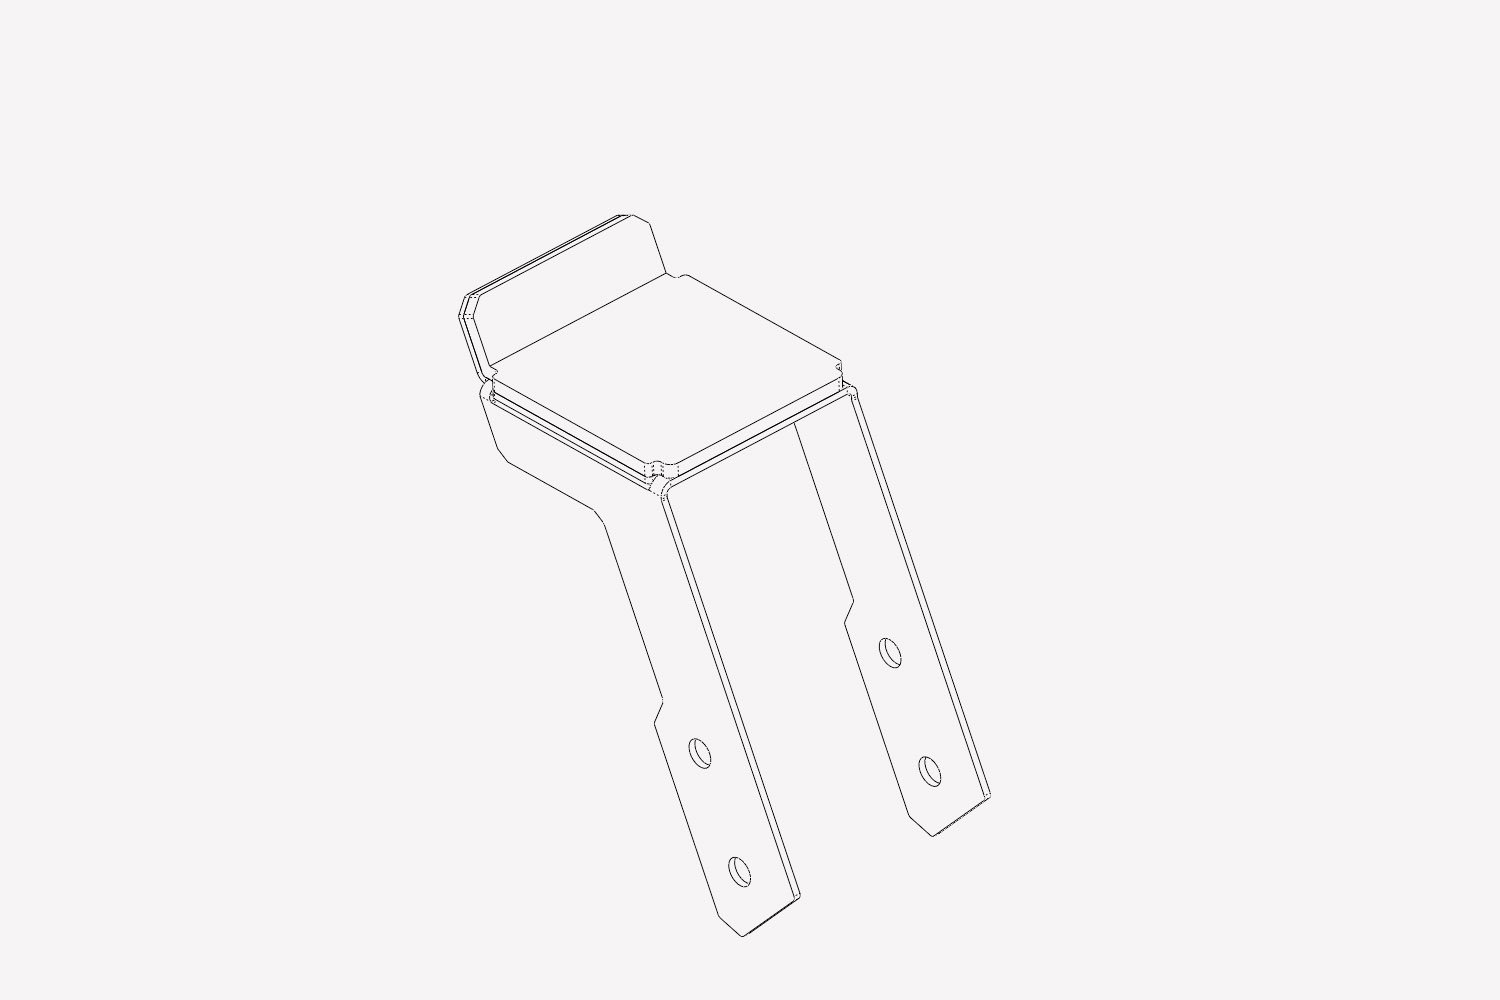
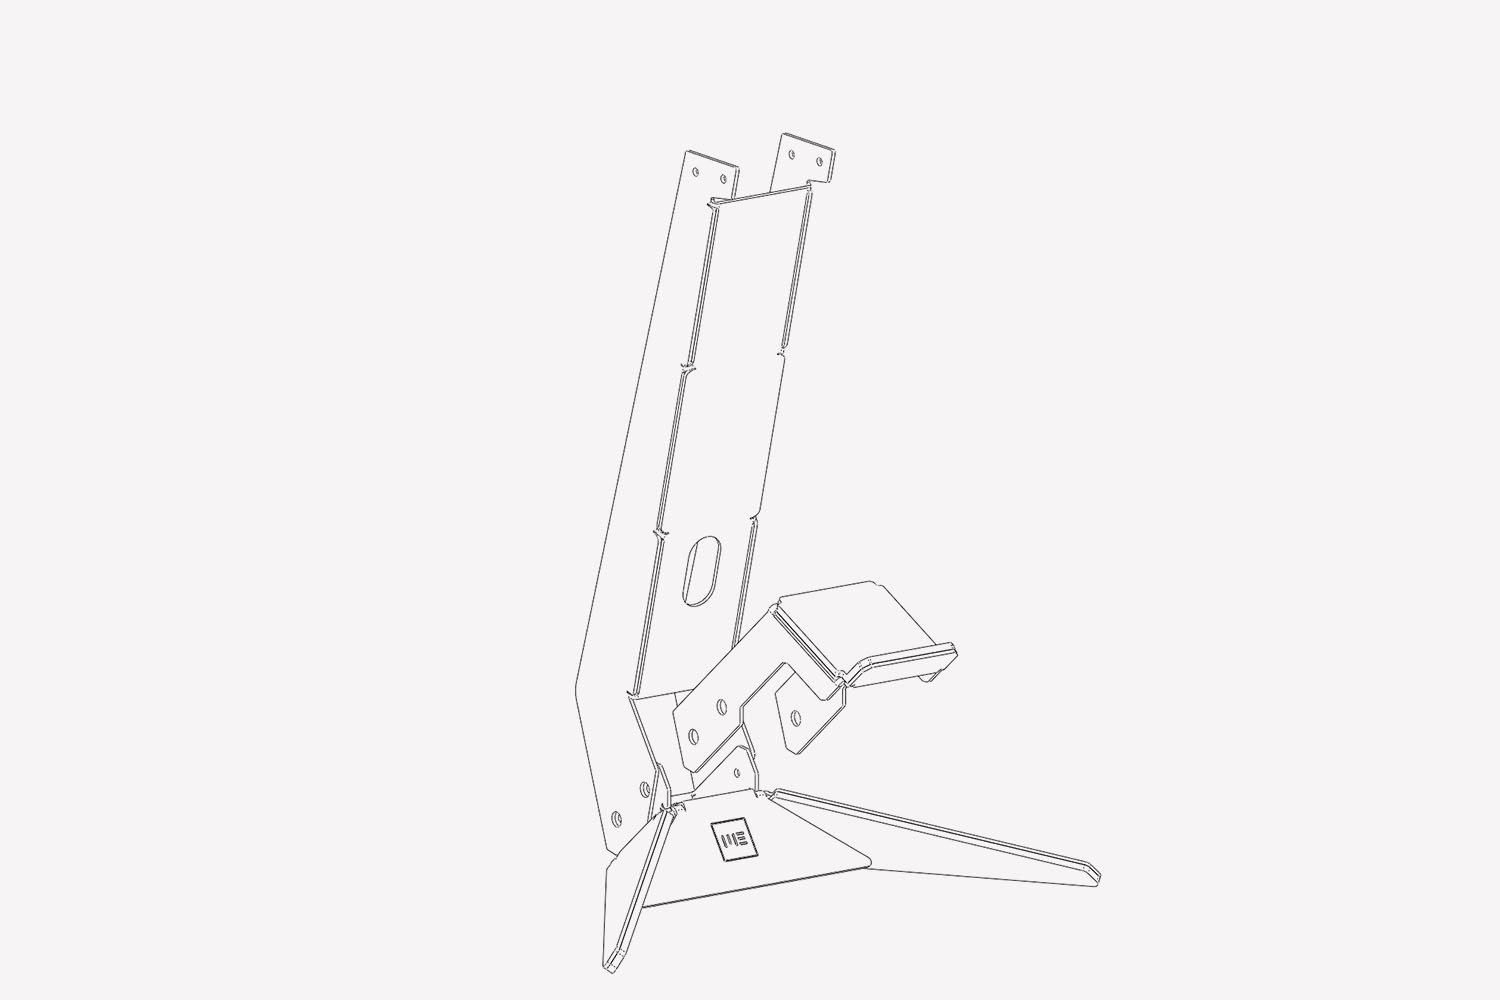
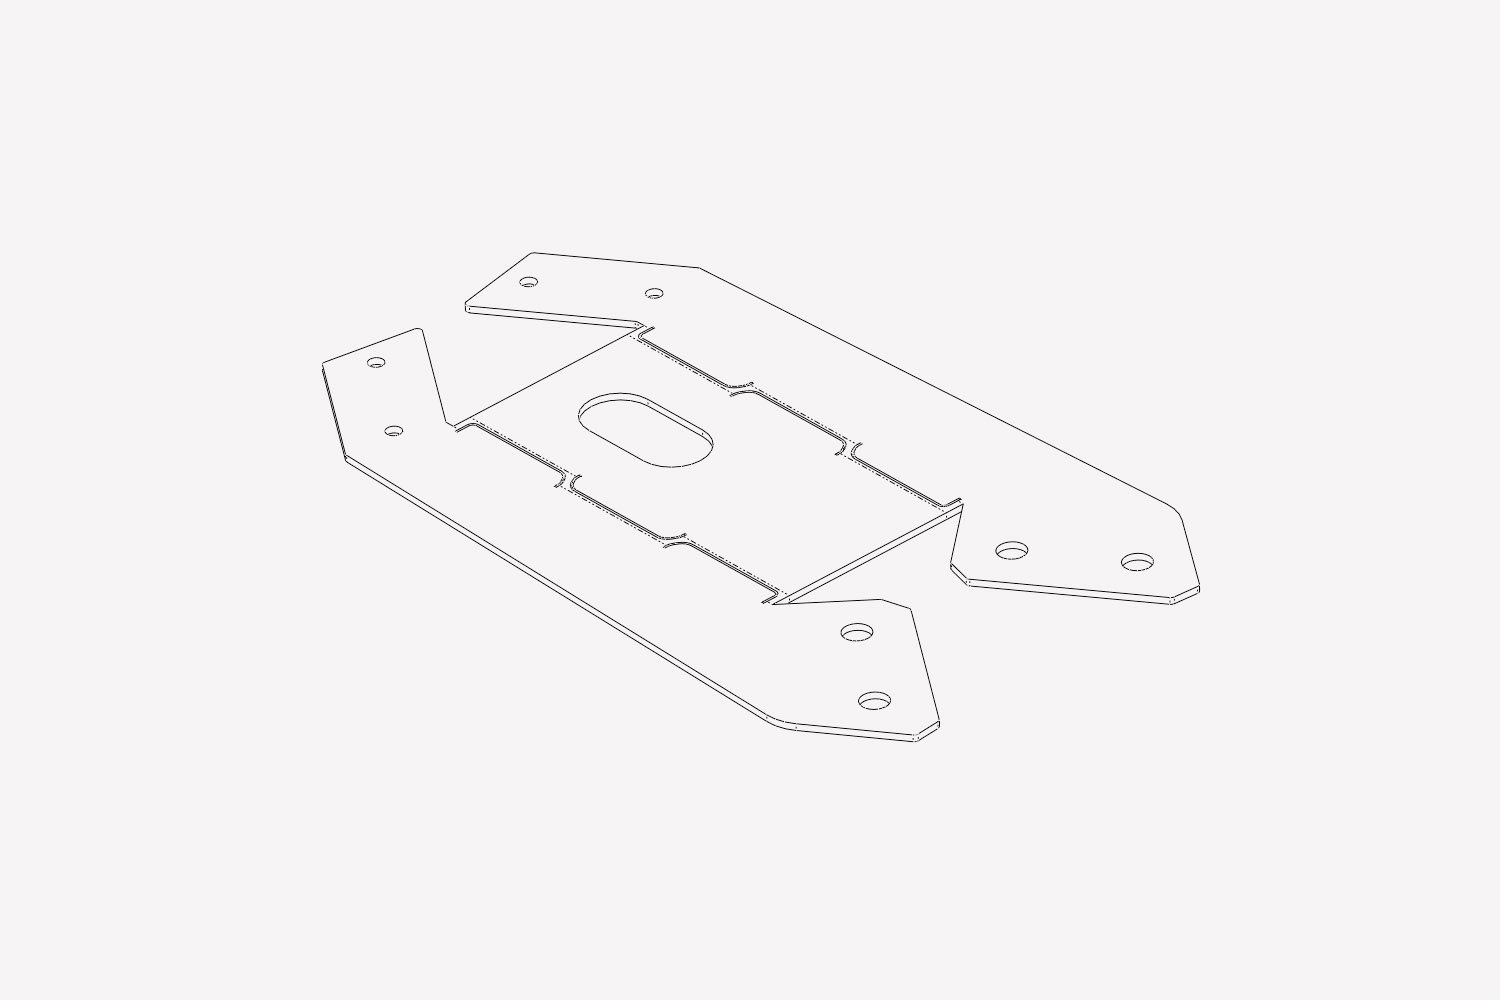
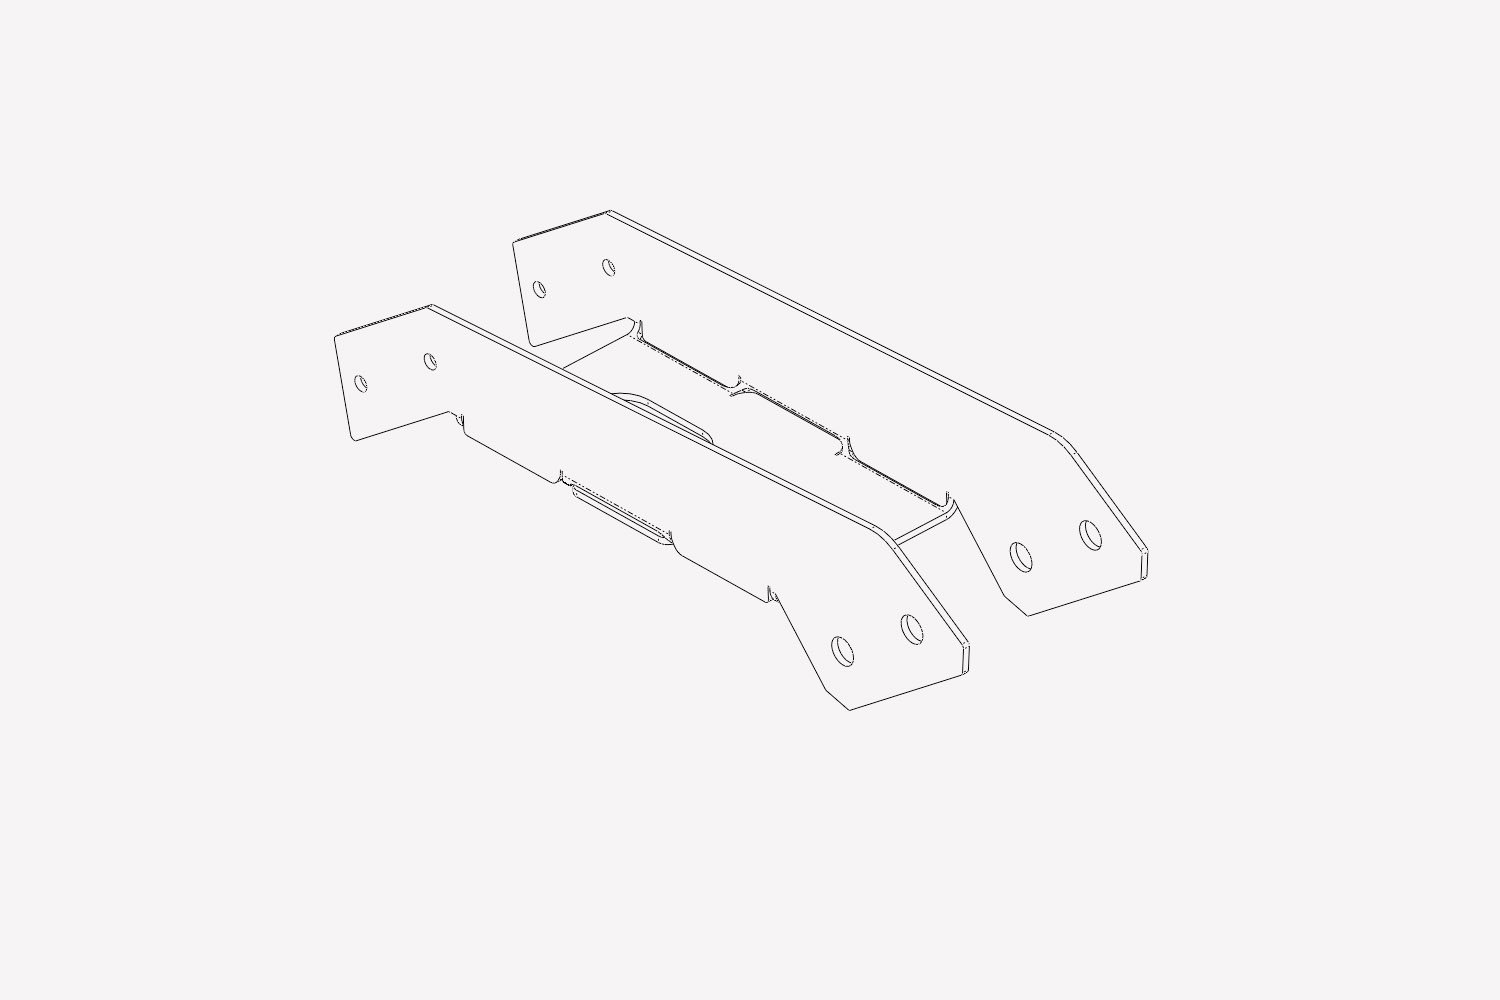
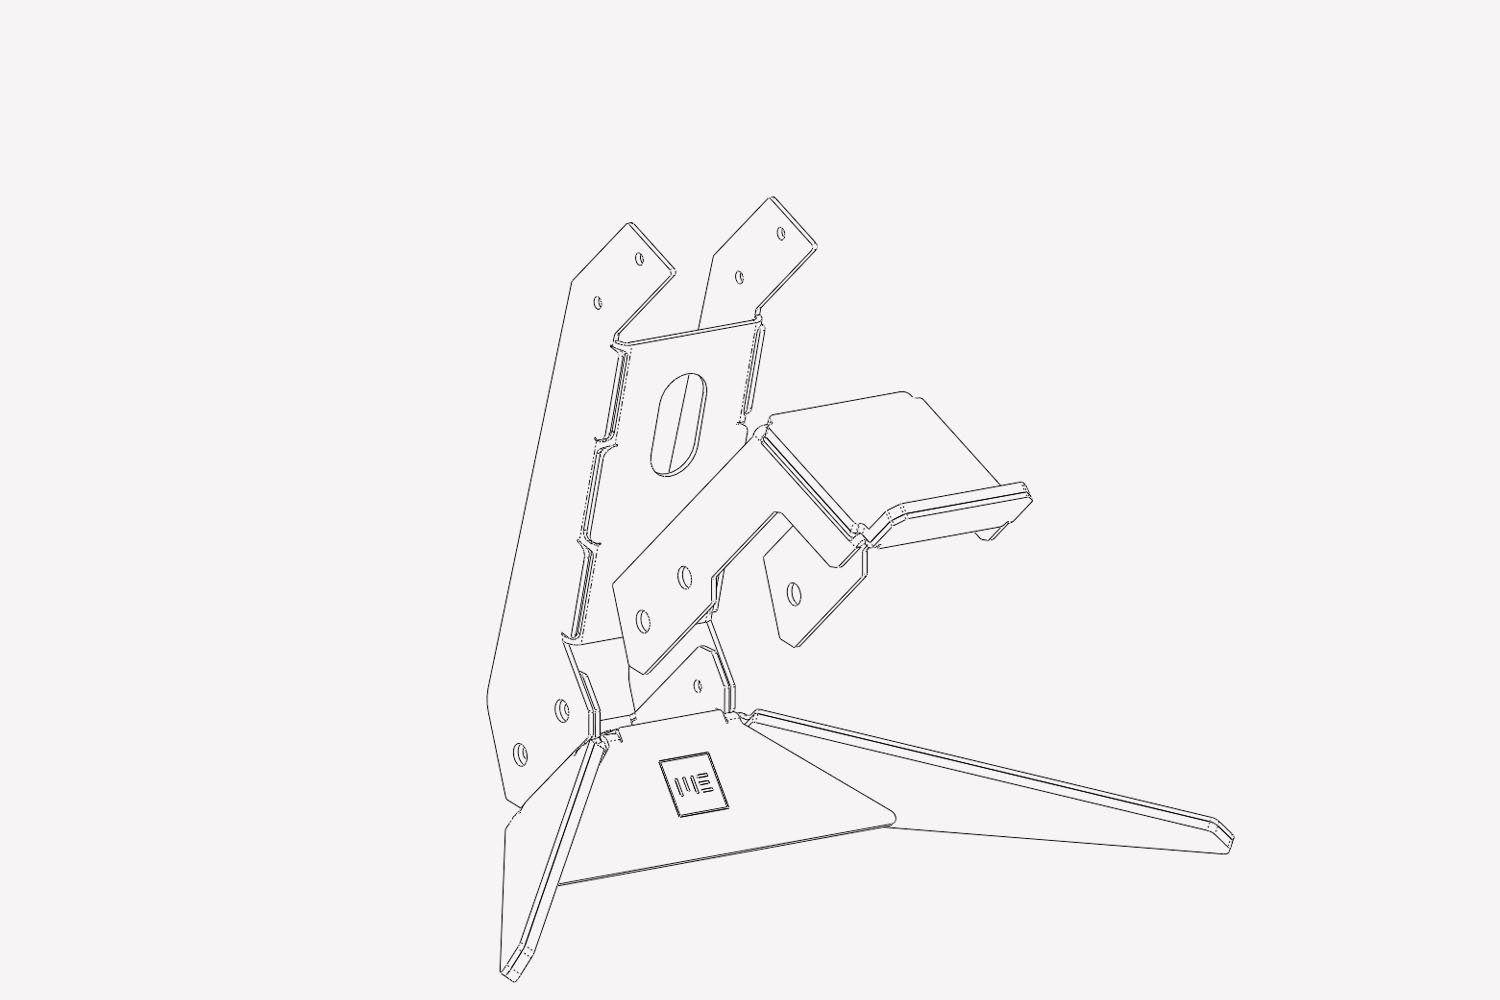
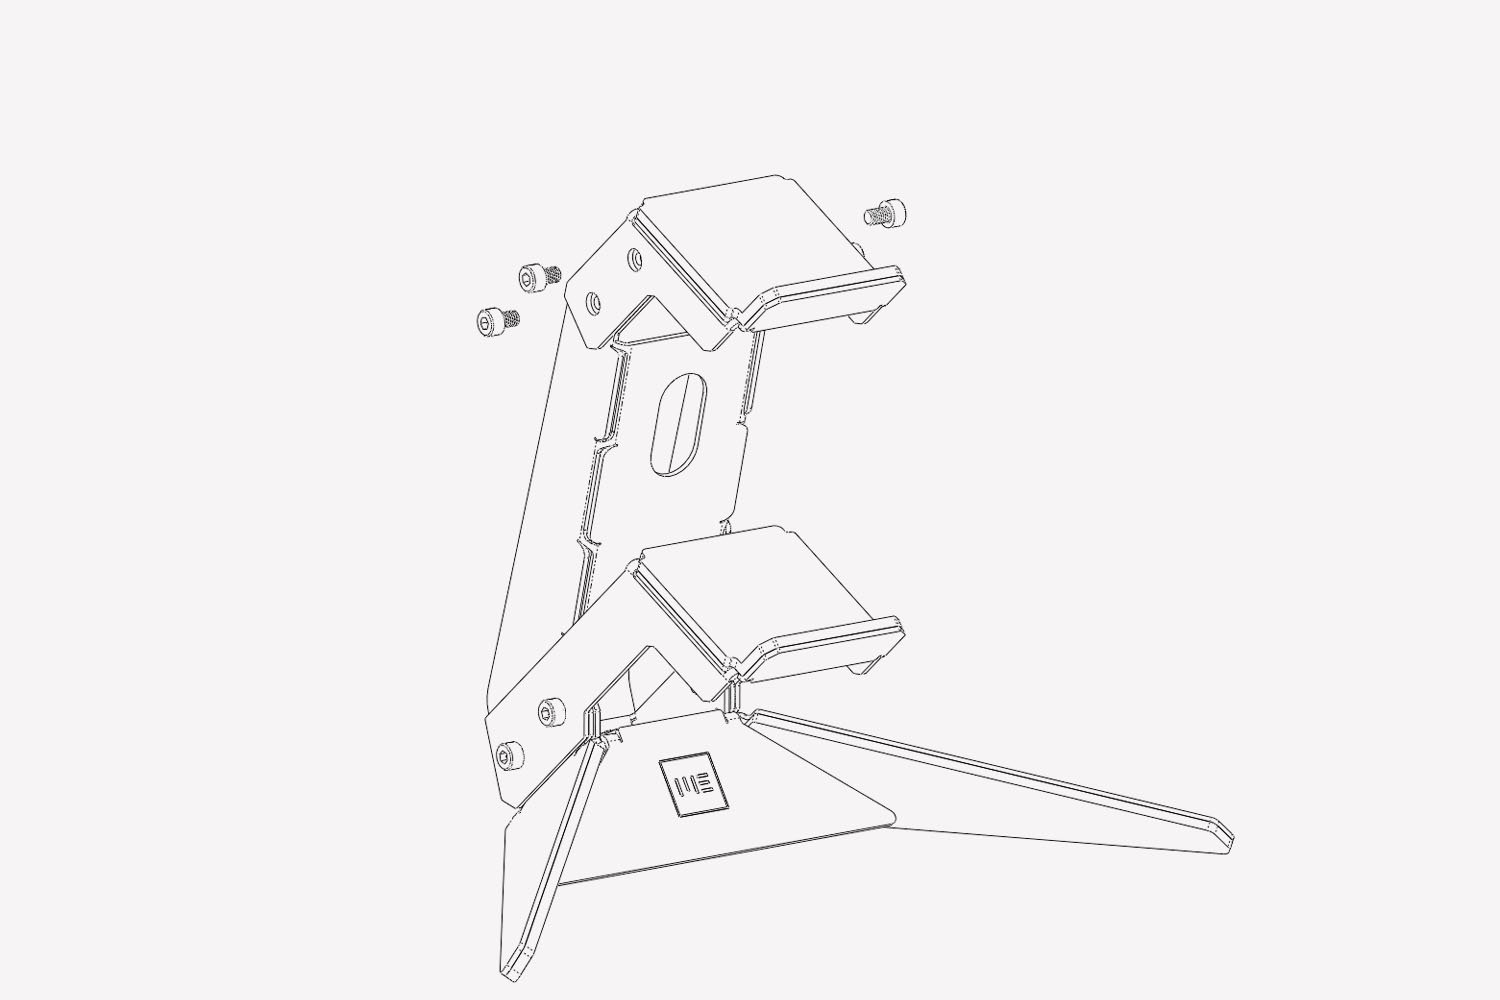
While they may look similar, the assembly process is slightly different for each product. Follow the links below to find the right instructions for your stand.

Headphone Stand – Small

Headphone Stand – Large

Controller Stand – Small

Controller Stand – Large

Small Headphone stand by Made Evident

Headphone Stand – Small

Contents

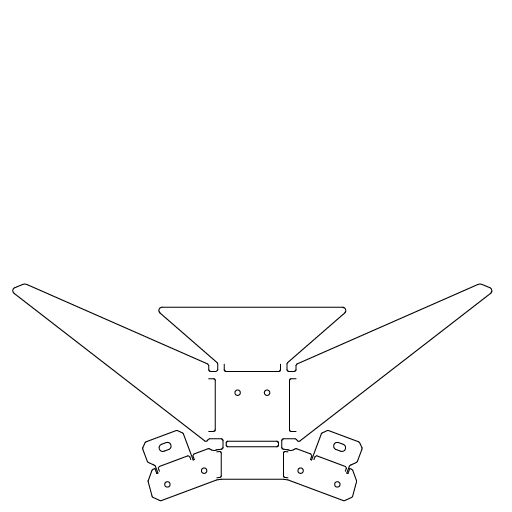
Base

Qty: 01

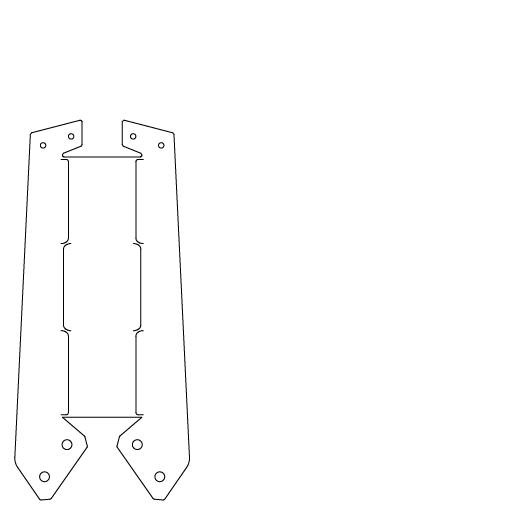
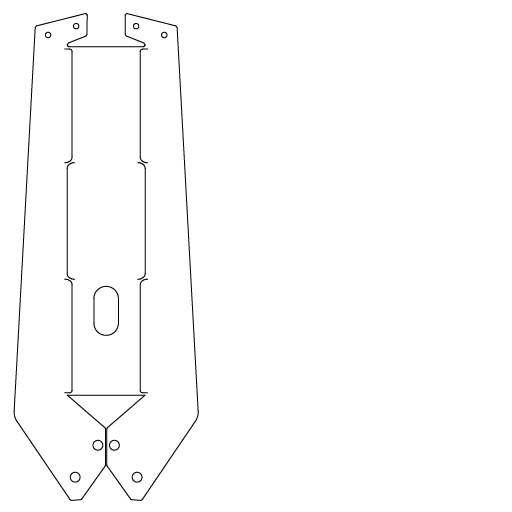
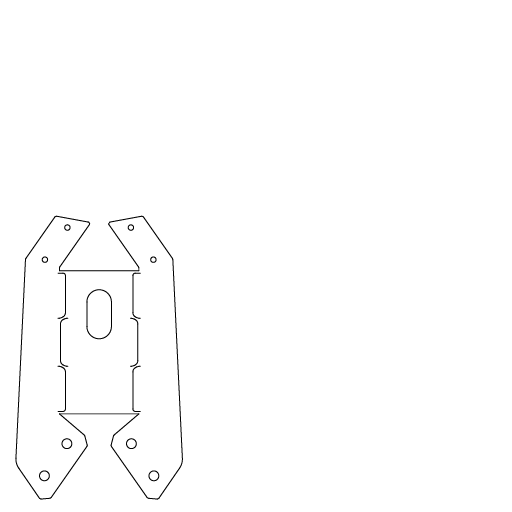
Small Headphone Stem

Qty: 01

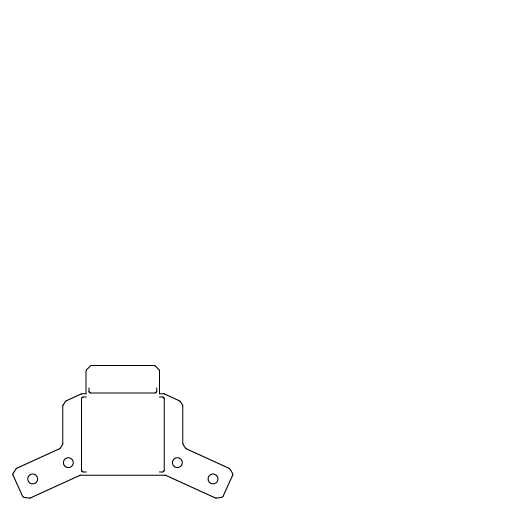
Headphone Arm

Qty: 01

Base Footpad Left

Qty: 01

Base Footpad Right

Qty: 01

Headphone Pad

Qty: 01

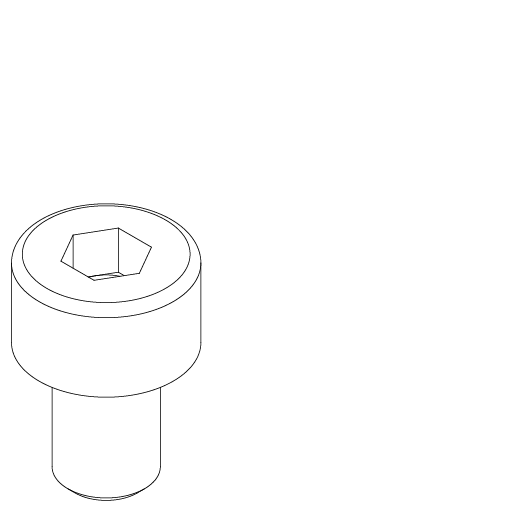
Capscrew

Qty: 10

Before you Begin

Safety First

Wear protective gloves. Bending metal does require some force on your hands so please take care and use wrap up those phalanges.

Read twice, bend once

We understand your excitement, however take a second to clearly understand each stage before bending your parts.

Bending metal

Never bent metal before? Neither had we until these came along. We recommend placing a protective cloth over your table and using the flat surface as leverage.

Prepare to Jiggy

Some of your parts may not line up perfectly right away. You may need to tweak your folds to ensure everything lines up nicely.

Part 1 - Base

01//

Find the Base part. Orientate the part so the logo is facing upwards

02//

Flip the base so the logo is facing downward

03//

Find the base footpads. Note, there is a specific left and right pad. Peel the backing off and apply the footpad to the base ensuring the edges line up nicely.

04//

Flip the part around so the logo is facing upwards again

05//

Fold the two small tabs up to an angle of 90 degrees

06//

Fold the two joining tabs up by 90 degrees

07//

Fold the entire back inward. You may need to adjust your folds slightly to align the holes. Use two fasteners to lightly hold the tabs down.

08//

Fold the front panel down roughly 90 degrees

09//

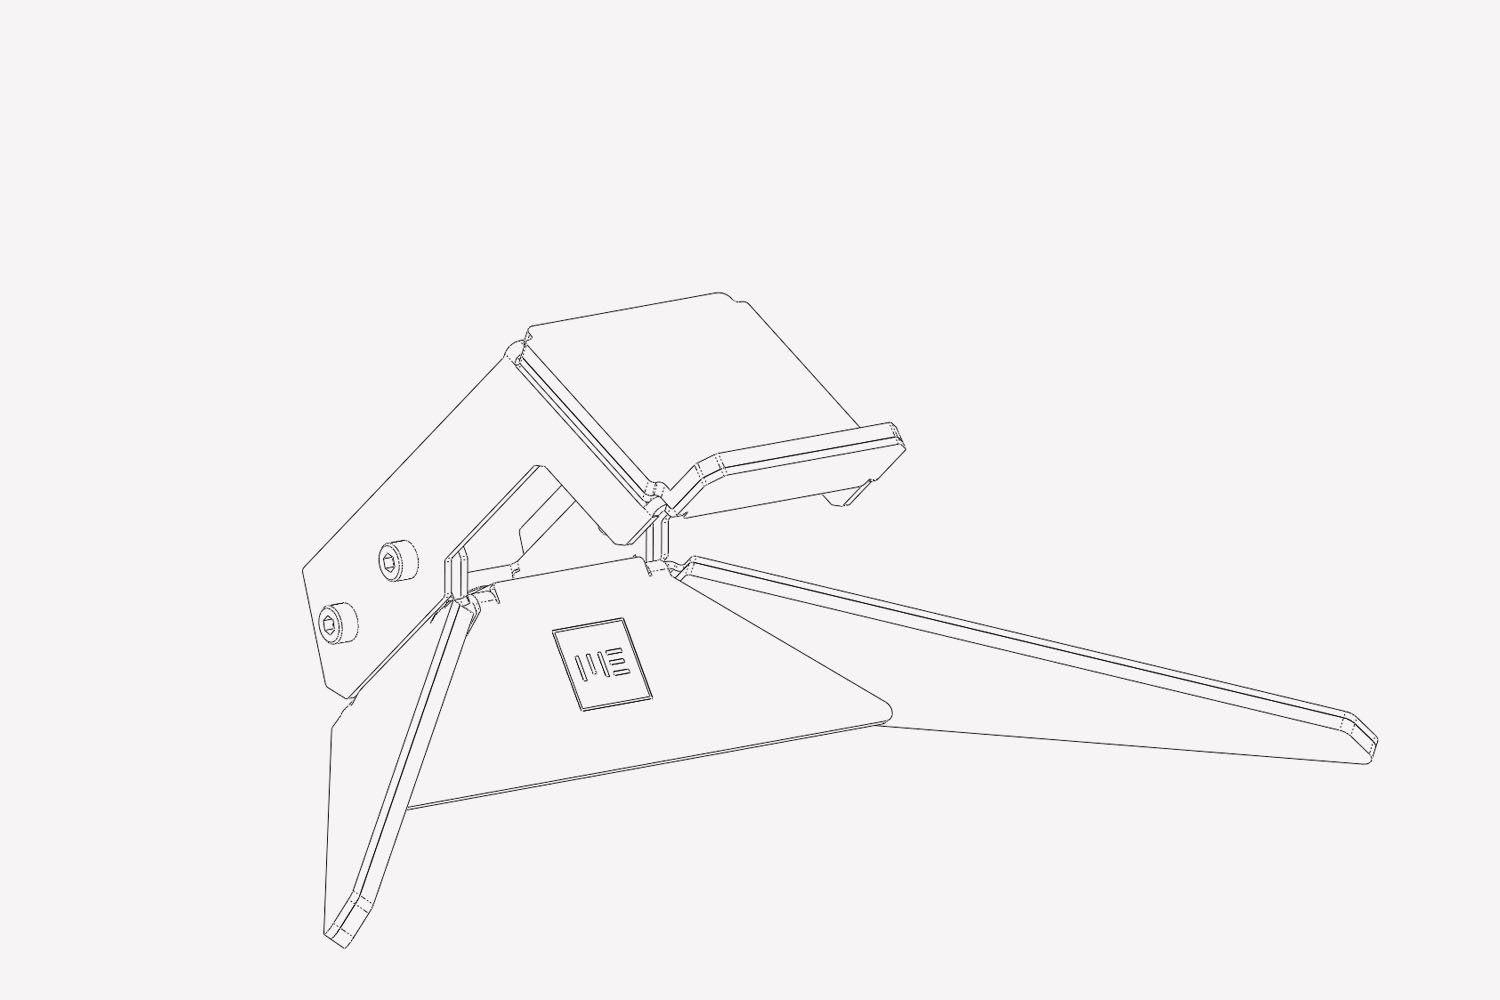
Fold the two legs inward to meet the front panel. Your base is now ready for final assembly.

Part 2 - Small Headphone Stem

01//

Find the headphone stem part. Pick the side that looks best and face that downwards.

02//

Fold one side up by 90 degrees

03//

Fold the other side up by 90 degrees. Your headphone stem is now ready for final assembly.

Part 3 - Headphone Arm

01//

Find the headphone arm part. Pick the side that looks best and face that downwards.

02//

Fold one side up by 90 degrees.

03//

Fold the other side up by 90 degrees.

04//

Filp the part around so the bends are now facing downwards. Find the headphone pad. Peel off the adhesive back and apply that to the top of the headphone arm.

05//

Your headphone arm is now ready for final assembly.

Final Assembly

01//

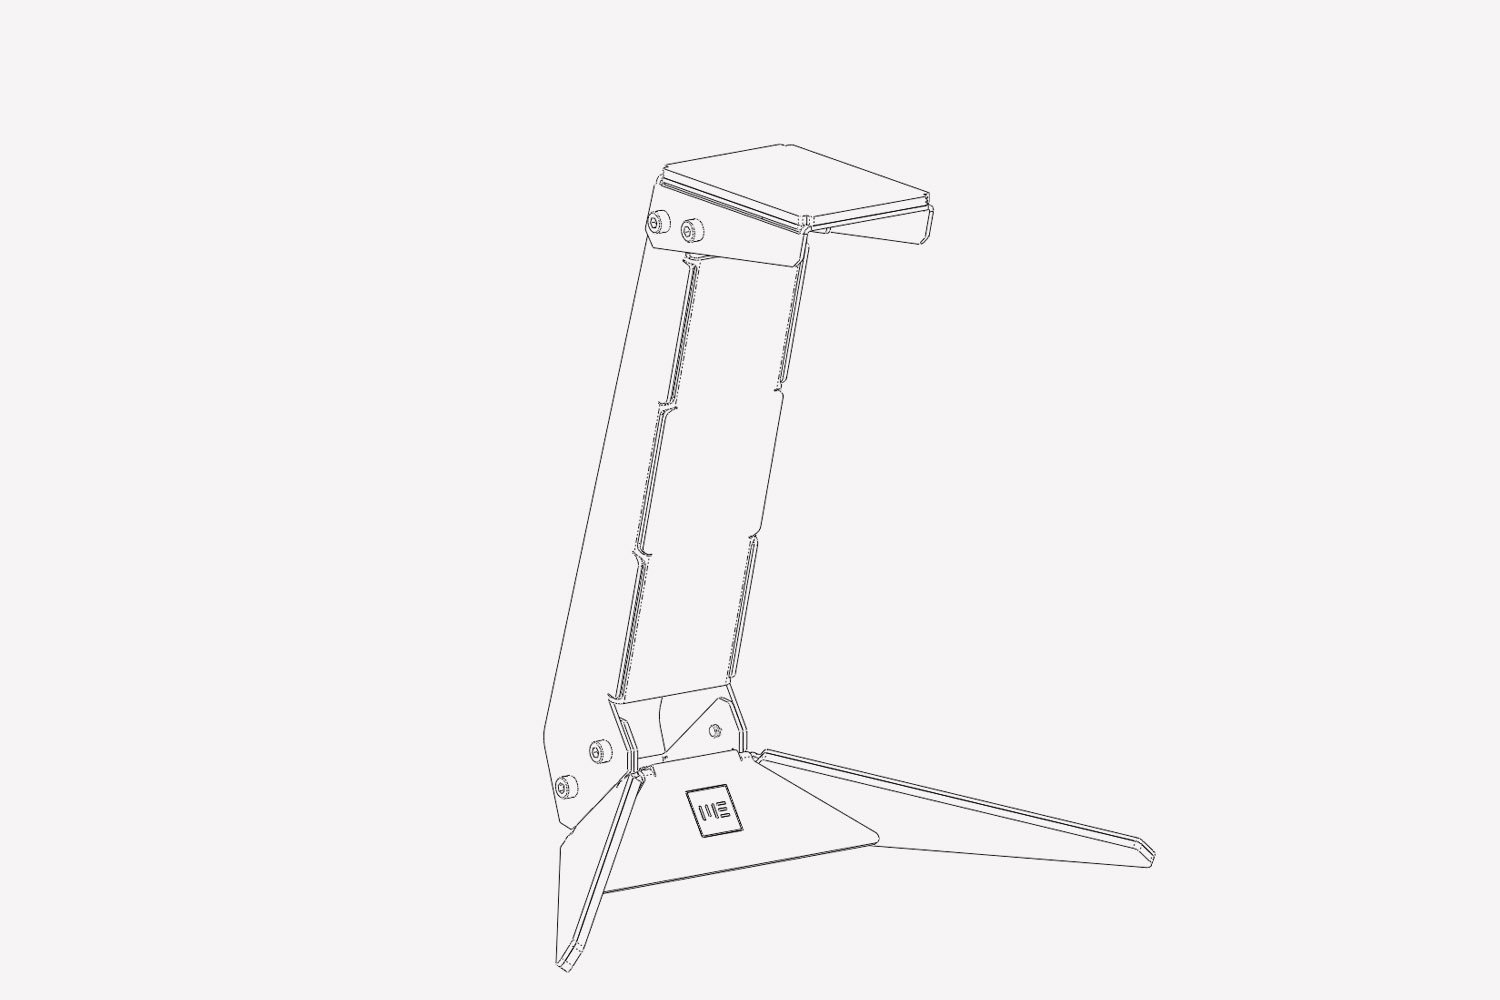
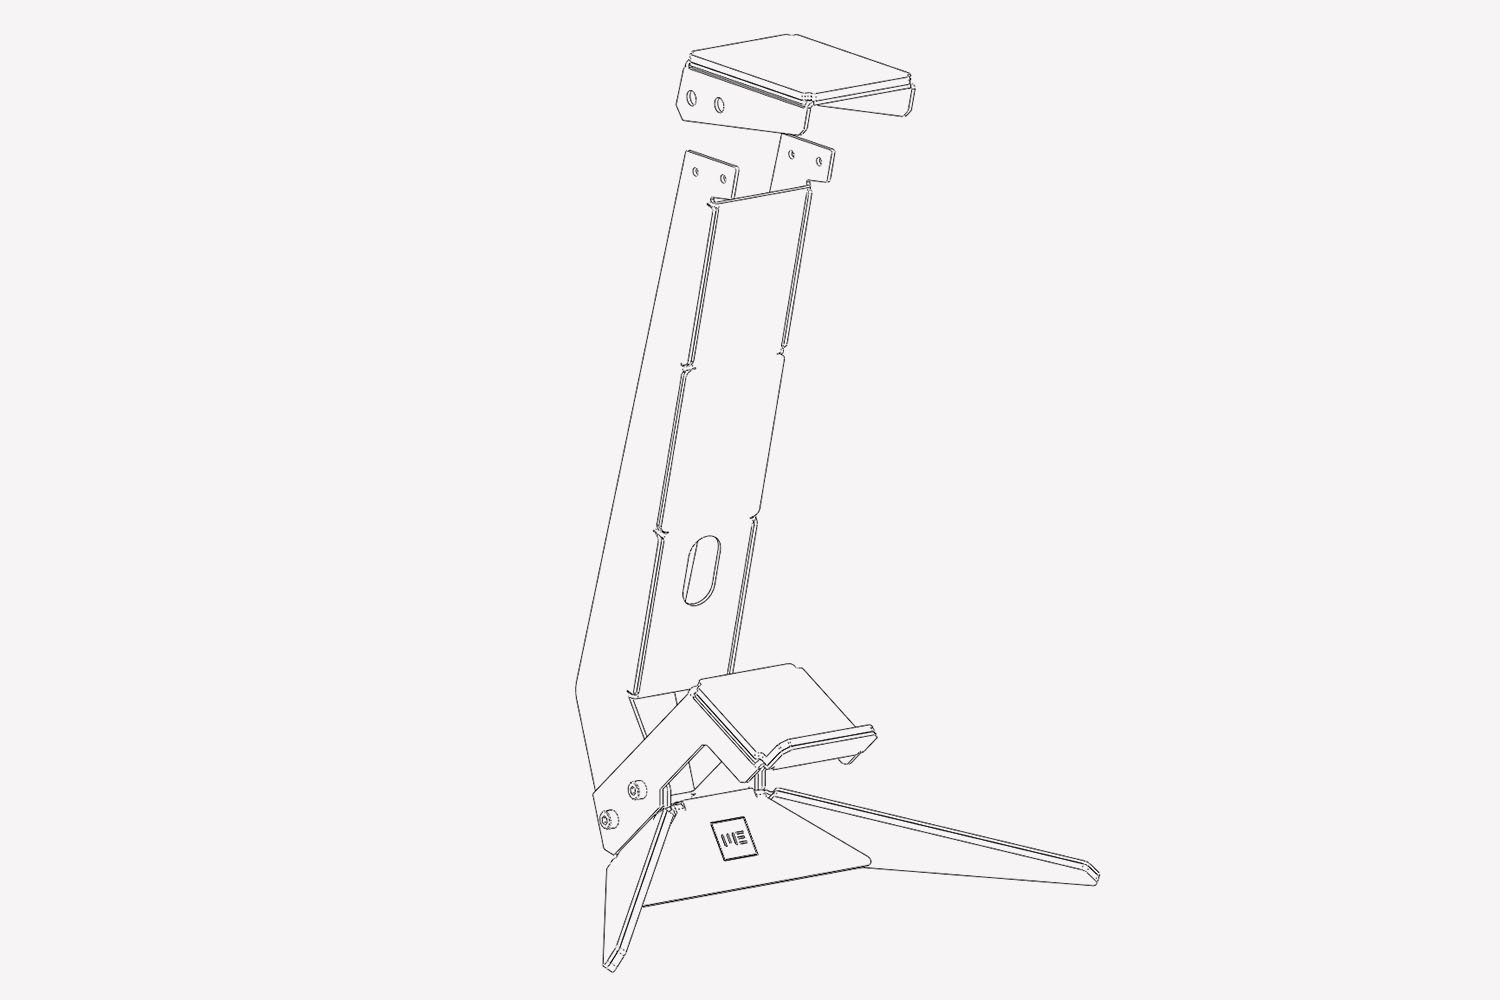
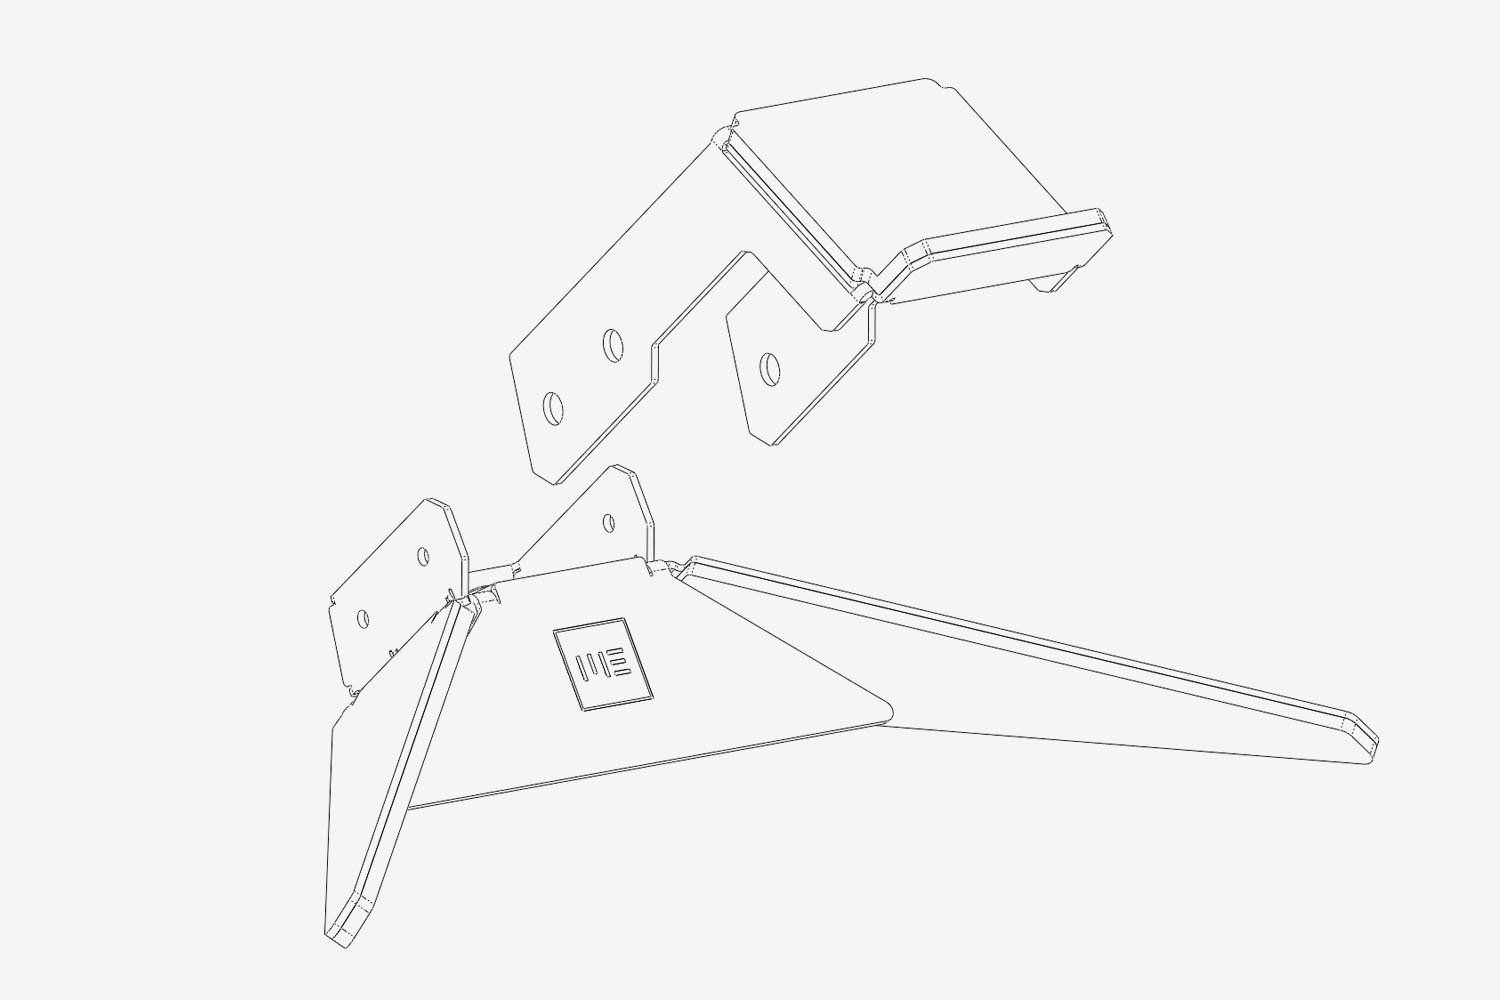
Find the Base part and headphone stem. Slot them together, the headphone stem should be on the outside. You may need to adjust your folds slightly to align the parts.

02//

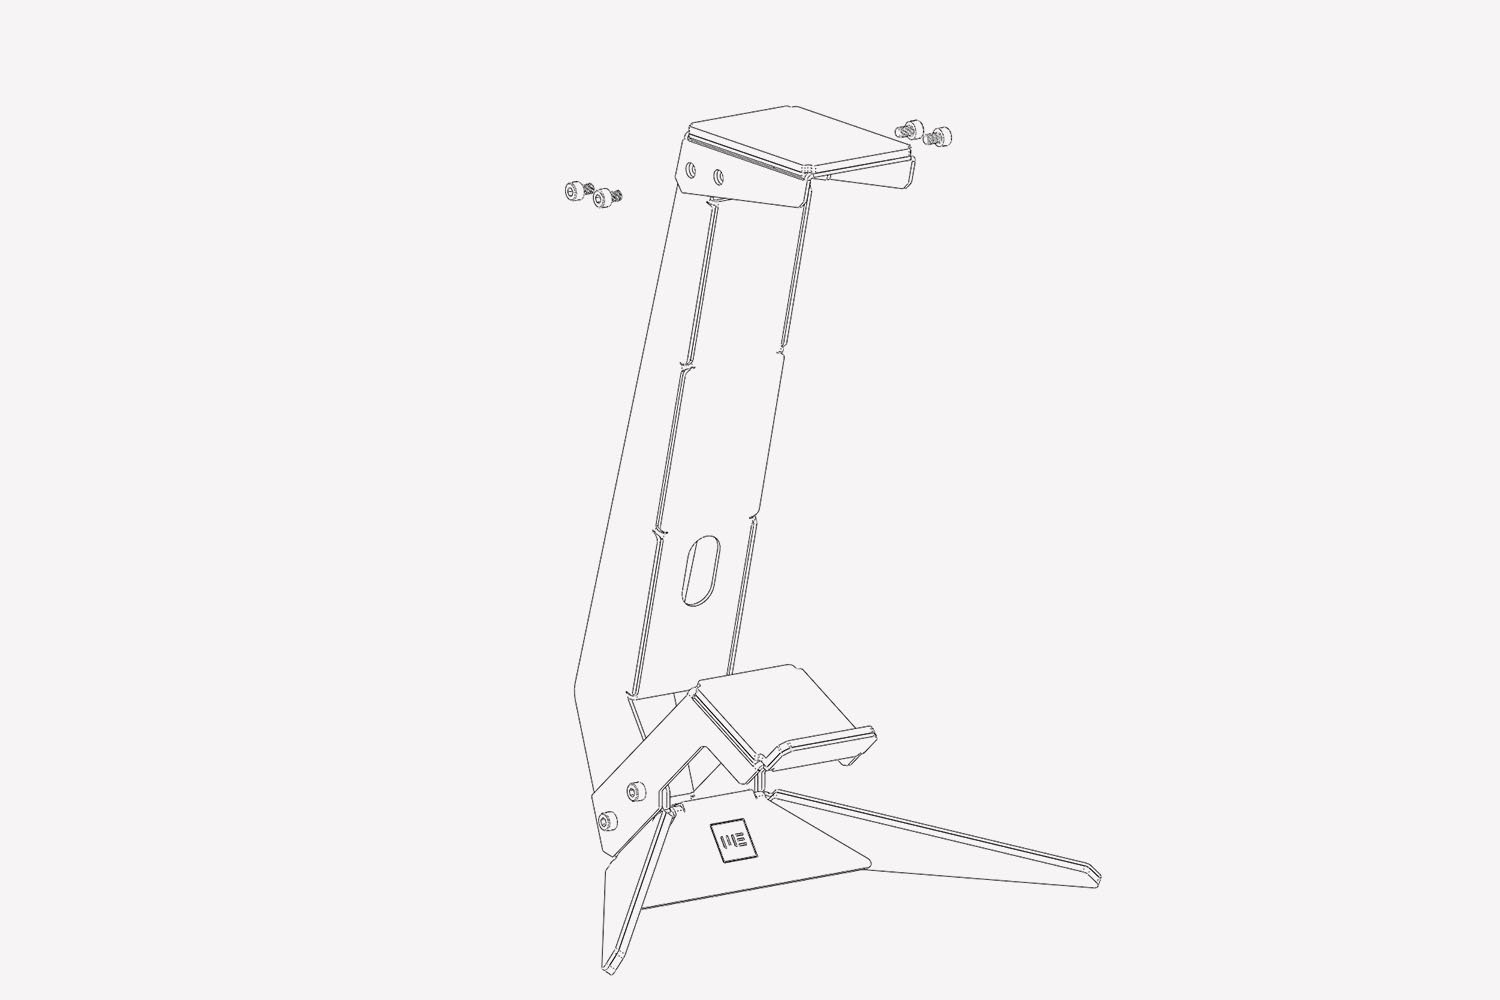
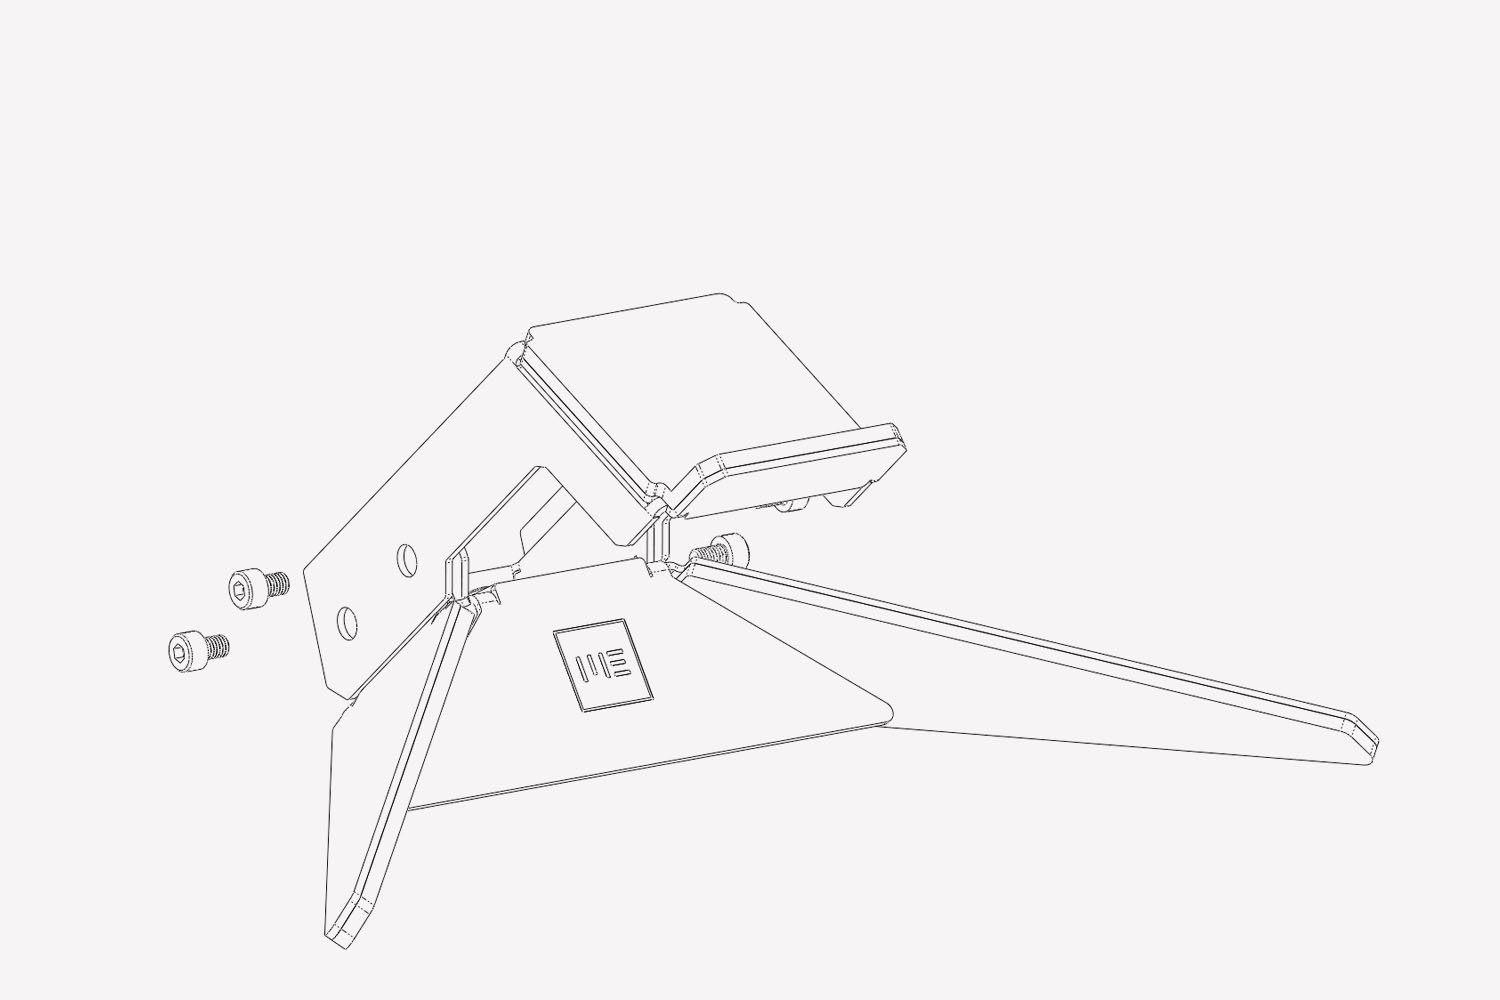
Lightly fasten the assembly using four capscrews.

03//

Place the headphone arm ontop of the stem. The headphone arm should fit on the outside of the stem.

04//

Lightly fasten the assembly using four capscrews.

Party-time//

All done! Get those headphones on there asap!
Large Headphone stand by Made Evident

Headphone Stand – Large

Contents

Base

Qty: 01

Large Headphone Stem

Qty: 01

Headphone Arm

Qty: 01

Controller Arm

Qty: 01

Base Footpad Left

Qty: 01

Base Footpad Right

Qty: 01

Headphone Pad

Qty: 01

Controller Pad

Qty: 01

Capscrew

Qty: 10

Before you Begin

Safety First

Wear protective gloves. Bending metal does require some force on your hands so please take care and use wrap up those phalanges.

Read twice, bend once

We understand your excitement, however take a second to clearly understand each stage before bending your parts.

Bending metal

Never bent metal before? Neither had we until these came along. We recommend placing a protective cloth over your table and using the flat surface as leverage.

Prepare to Jiggy

Some of your parts may not line up perfectly right away. You may need to tweak your folds to ensure everything lines up nicely.

Part 1 - Base

01//

Find the Base part. Orientate the part so the logo is facing upwards

02//

Flip the base so the logo is facing downward

03//

Find the base footpads. Note, there is a specific left and right pad. Peel the backing off and apply the footpad to the base ensuring the edges line up nicely.

04//

Flip the part around so the logo is facing upwards again

05//

Fold the two small tabs up to an angle of 90 degrees

06//

Fold the two joining tabs up by 90 degrees

07//

Fold the entire back inward. You may need to adjust your folds slightly to align the holes. Use two fasteners to lightly hold the tabs down.

08//

Fold the front panel down roughly 90 degrees

09//

Fold the two legs inward to meet the front panel. Your base is now ready for final assembly.

Part 2 - Large Headphone Stem

01//

Find the headphone stem part. Pick the side that looks best and face that downwards.

02//

Fold one side up by 90 degrees

03//

Fold the other side up by 90 degrees. Your headphone stem is now ready for final assembly.

Part 3 - Headphone Arm

01//

Find the headphone arm part. Pick the side that looks best and face that downwards.

02//

Fold one side up by 90 degrees.

03//

Fold the other side up by 90 degrees.

04//

Filp the part around so the bends are now facing downwards. Find the headphone pad. Peel off the adhesive back and apply that to the top of the headphone arm.

05//

Your headphone arm is now ready for final assembly.

Part 4 - Controller Arm

01//

Find the Controller arm part. Face the better looking side upwards.

02//

Fold one side down by 90 degrees

03//

Fold the other side down by 90 degrees

04//

Find the controller pad. Notice that there is a front and back to the pad which matches the controller arm. Peel off the adhesive back and apply that to the top of the controller arm.

05//

Fold the front tab upward. Your controller arm is now ready for final assembly.

Final Assembly

01//

Find the Base part and headphone stem. Slot them together, the headphone stem should be on the outside. You may need to adjust your folds slightly to align the parts.

02//

Find the controller arm part. Align that on the outside of the headphone stem and base. You may need to adjust your folds slightly to align the holes. This stage can be tricky, so either have a friend help, or rest some of the parts on a table.

03//

Lightly fasten the 3 parts together using four capscrews.

04//

Place the headphone arm ontop of the stem. The headphone arm should fit on the outside of the stem.

05//

Lightly fasten the assembly using four capscrews.

Party-time//

All done! Get those headphones and controller on there asap!
Small Controller stand by Made Evident

Controller Stand – Small

Contents

Base

Qty: 01

Controller Arm

Qty: 01

Base Footpad Left

Qty: 01

Base Footpad Right

Qty: 01

Controller Pad

Qty: 01

Capscrew

Qty: 6

Before you Begin

Safety First

Wear protective gloves. Bending metal does require some force on your hands so please take care and use wrap up those phalanges.

Read twice, bend once

We understand your excitement, however take a second to clearly understand each stage before bending your parts.

Bending metal

Never bent metal before? Neither had we until these came along. We recommend placing a protective cloth over your table and using the flat surface as leverage.

Prepare to Jiggy

Some of your parts may not line up perfectly right away. You may need to tweak your folds to ensure everything lines up nicely.

Part 1 - Base

01//

Find the Base part. Orientate the part so the logo is facing upwards

02//

Flip the base so the logo is facing downward

03//

Find the base footpads. Note, there is a specific left and right pad. Peel the backing off and apply the footpad to the base ensuring the edges line up nicely.

04//

Flip the part around so the logo is facing upwards again

05//

Fold the two small tabs up to an angle of 90 degrees

06//

Fold the two joining tabs up by 90 degrees

07//

Fold the entire back inward. You may need to adjust your folds slightly to align the holes. Use two fasteners to lightly hold the tabs down.

08//

Fold the front panel down roughly 90 degrees

09//

Fold the two legs inward to meet the front panel. Your base is now ready for final assembly.

Part 2 - Controller Arm

01//

Find the Controller arm part. Face the better looking side upwards.

02//

Fold one side down by 90 degrees

03//

Fold the other side down by 90 degrees

04//

Find the controller pad. Notice that there is a front and back to the pad which matches the controller arm. Peel off the adhesive back and apply that to the top of the controller arm.

05//

Fold the front tab upward. Your controller arm is now ready for final assembly.

Final Assembly

01//

Find the Base part and controller arm. Slot them together, the controller arm should be on the outside. You may need to adjust your folds slightly to align the parts.

02//

Lightly fasten the assembly using four capscrews.

Party-time//

All done! Get that controller on there asap!
Large Headphone stand by Made Evident

Controller Stand – Large

Contents

Base

Qty: 01

Plusone Stem

Qty: 01

Plusone Arm

Qty: 01

Controller Arm

Qty: 01

Base Footpad Left

Qty: 01

Base Footpad Right

Qty: 01

Controller Pad

Qty: 02

Capscrew

Qty: 10

Before you Begin

Safety First

Wear protective gloves. Bending metal does require some force on your hands so please take care and use wrap up those phalanges.

Read twice, bend once

We understand your excitement, however take a second to clearly understand each stage before bending your parts.

Bending metal

Never bent metal before? Neither had we until these came along. We recommend placing a protective cloth over your table and using the flat surface as leverage.

Prepare to Jiggy

Some of your parts may not line up perfectly right away. You may need to tweak your folds to ensure everything lines up nicely.

Part 1 - Base

01//

Find the Base part. Orientate the part so the logo is facing upwards

02//

Flip the base so the logo is facing downward

03//

Find the base footpads. Note, there is a specific left and right pad. Peel the backing off and apply the footpad to the base ensuring the edges line up nicely.

04//

Flip the part around so the logo is facing upwards again

05//

Fold the two small tabs up to an angle of 90 degrees

06//

Fold the two joining tabs up by 90 degrees

07//

Fold the entire back inward. You may need to adjust your folds slightly to align the holes. Use two fasteners to lightly hold the tabs down.

08//

Fold the front panel down roughly 90 degrees

09//

Fold the two legs inward to meet the front panel. Your base is now ready for final assembly.

Part 2 - Controller Arm

01//

Find the Controller arm part. Face the better looking side upwards.

02//

Fold one side down by 90 degrees

03//

Fold the other side down by 90 degrees

04//

Find the controller pad. Notice that there is a front and back to the pad which matches the controller arm. Peel off the adhesive back and apply that to the top of the controller arm.

05//

Fold the front tab upward. Your controller arm is now ready for final assembly.

Part 3 - Plusone Stem

01//

Find the Plusone stem part. Pick the side that looks best and face that downwards.

02//

Fold one side up by 90 degrees

03//

Fold the other side up by 90 degrees. Your Plusone stem is now ready for final assembly.

Part 4 - Plusone arm

01//

Find the Plusone arm part. Face the better looking side upwards.

02//

Fold one side down by 90 degrees

03//

Fold the other side down by 90 degrees

04//

Find the controller pad. Notice that there is a front and back to the pad which matches the Plusone arm. Peel off the adhesive back and apply that to the top of the Plusone arm.

05//

Your Plusone arm is now ready for final assembly.

Final Assembly

01//

Find the Base part and Plusone stem. Slot them together, the Plusone stem should be on the outside. You may need to adjust your folds slightly to align the parts.

02//

Find the Plusone arm part. Align that on the outside of the stem and base. You may need to adjust your folds slightly to align the holes. This stage can be tricky, so either have a friend help, or rest some of the parts on a table.

03//

Lightly fasten the 3 parts together using four capscrews.

04//

Place the Plusone arm ontop of the stem. The Plusone arm should fit on the outside of the stem.

05//

Lightly fasten the assembly using four capscrews.

Party-time//

All done! Get those controllers on there asap!